Hello again everyone. Only a week has passed from the first part of this build but a fair amount of work has been completed on the build so I thought it was a good time to show how far they have come.
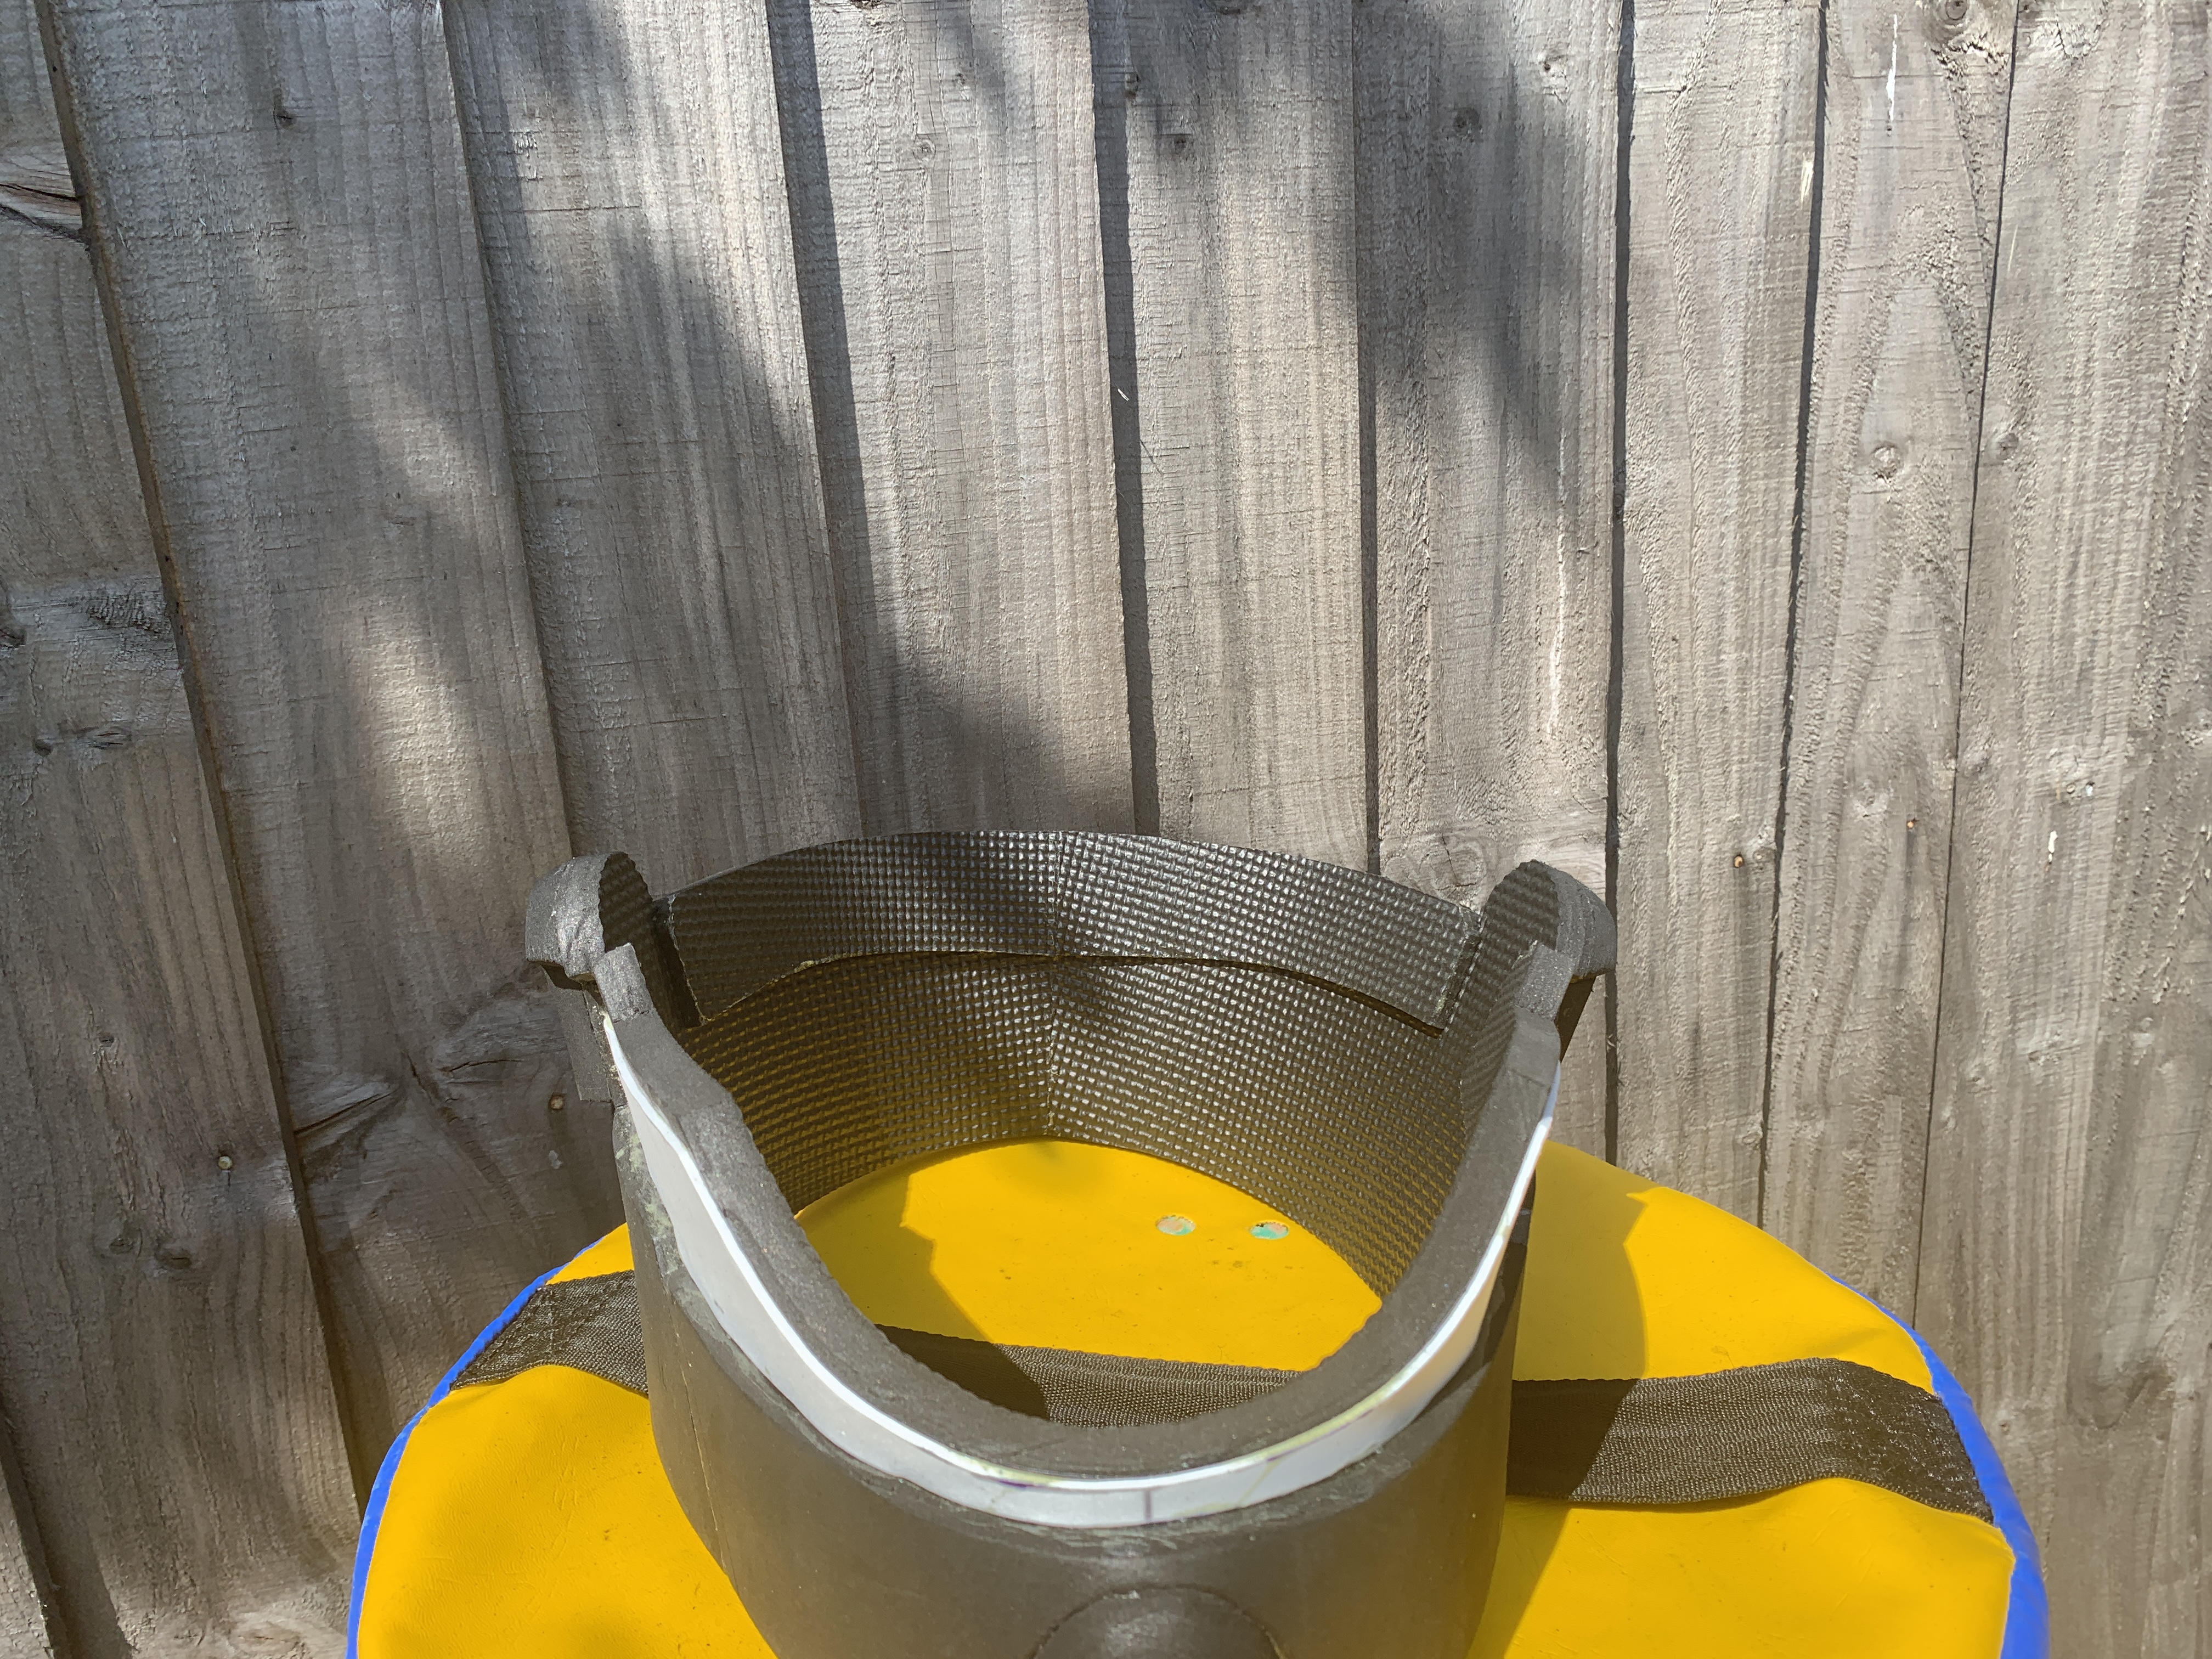
You can see below where things were left off
The next step was to just build upwards along the back and front as these would be the foundations for the “roof” of the helmet
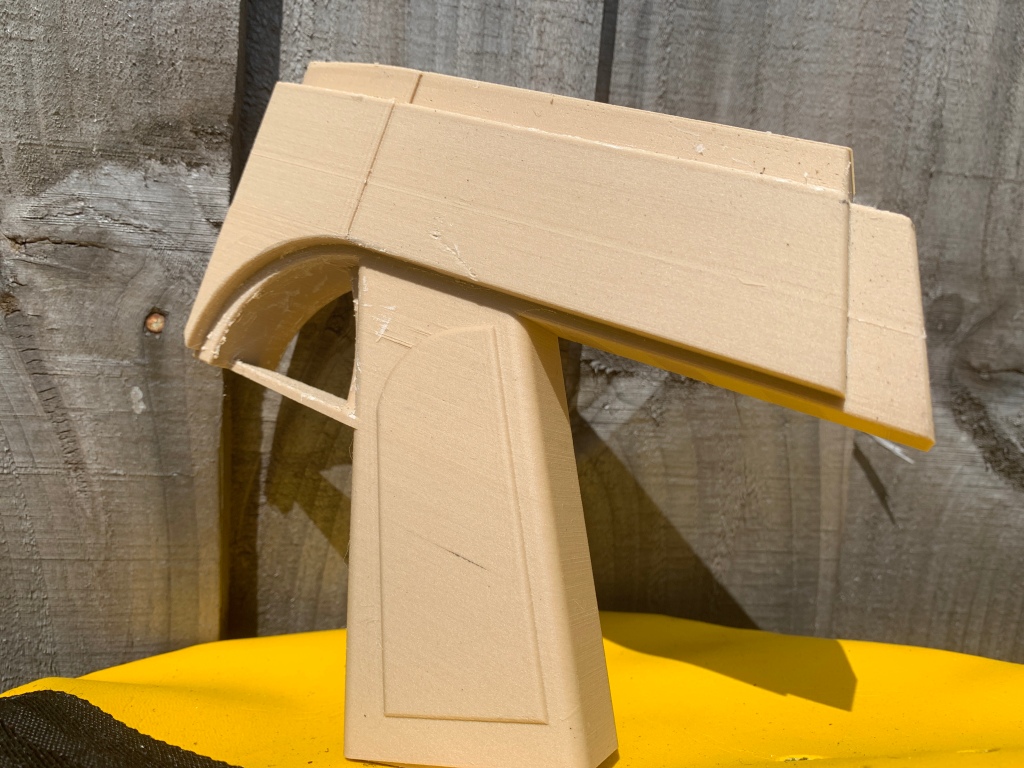
I also wanted to tackle the centre piece that sits just in-front of the chin as it helps give the helmet it’s distinctive shape and design
One of the benefits of making 4 of these things is once I’ve planned things using the prototype helmet (mine) it’s a lot easier to get the other three to the same stage. And then it’s rinse and repeat over and over again!
The next post will detail how I tackle the top of the helmet as that’s the next step. I don’t want to start adding more detail to the parts I’ve done till more of the base helmet is completed so keep an eye out for the next post
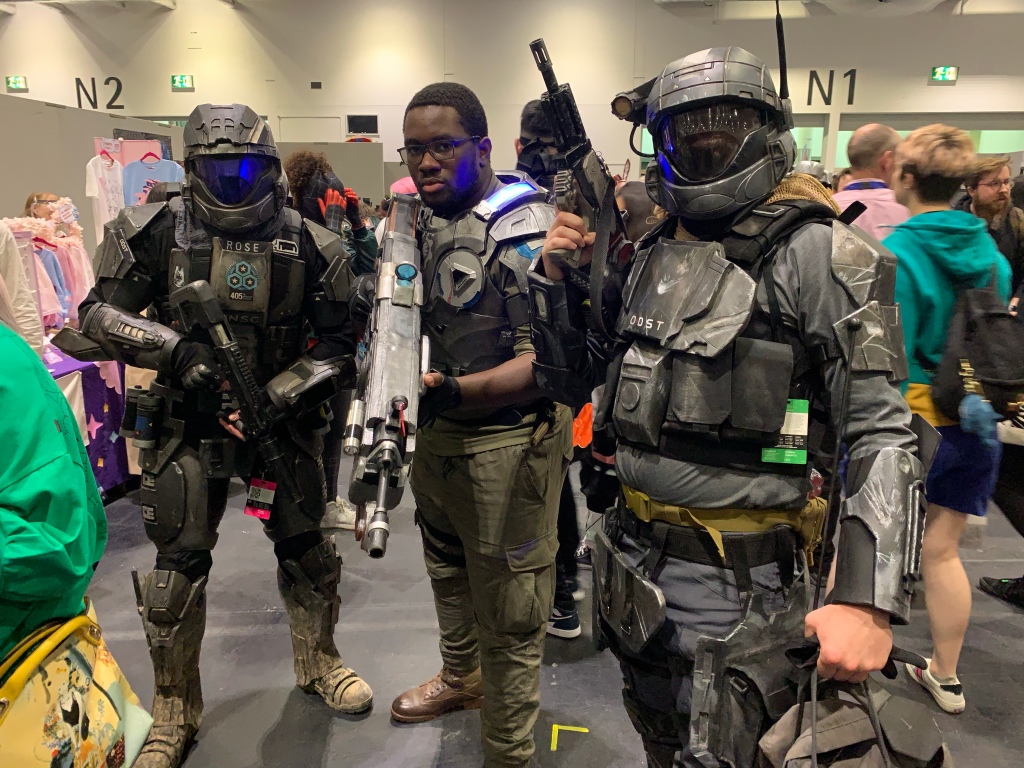
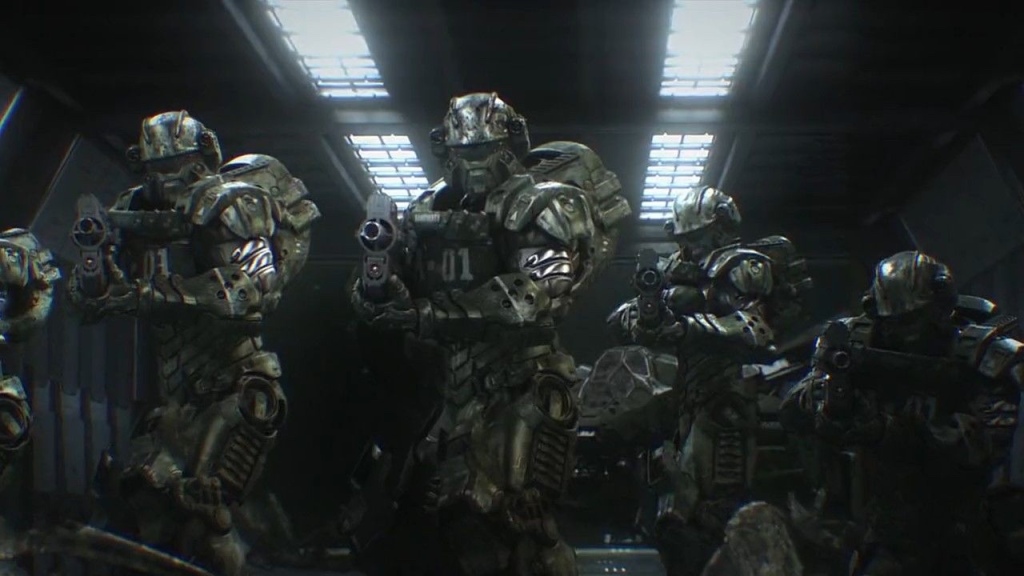
So here it is the first post for this project. I was commissioned to create a set of 3 ODST helmets for a group cosplay that will be happening later this year. seeing as I am already making 3 I decided to make one for myself as well as it had been a couple years since I make the full ODST cosplay set you can see below.
Keeping command in the know!
Those who reached out had seen this and thus helped in their decision to approach me to create said helmets, and so here we are at the beginning of the journey, and like any project the first thing I needed was blueprints.
The blueprints I went with was created by Andrew DFT, the same one that I used years back and I must say it is a great template to work off but I planned deviate from it from time to time, which will be more apparent later down the line.
I also looked extensively online for inspiration on how to make each one stand out from one another but for now the main effort is to just build the base helmet and then I can make them all unique after
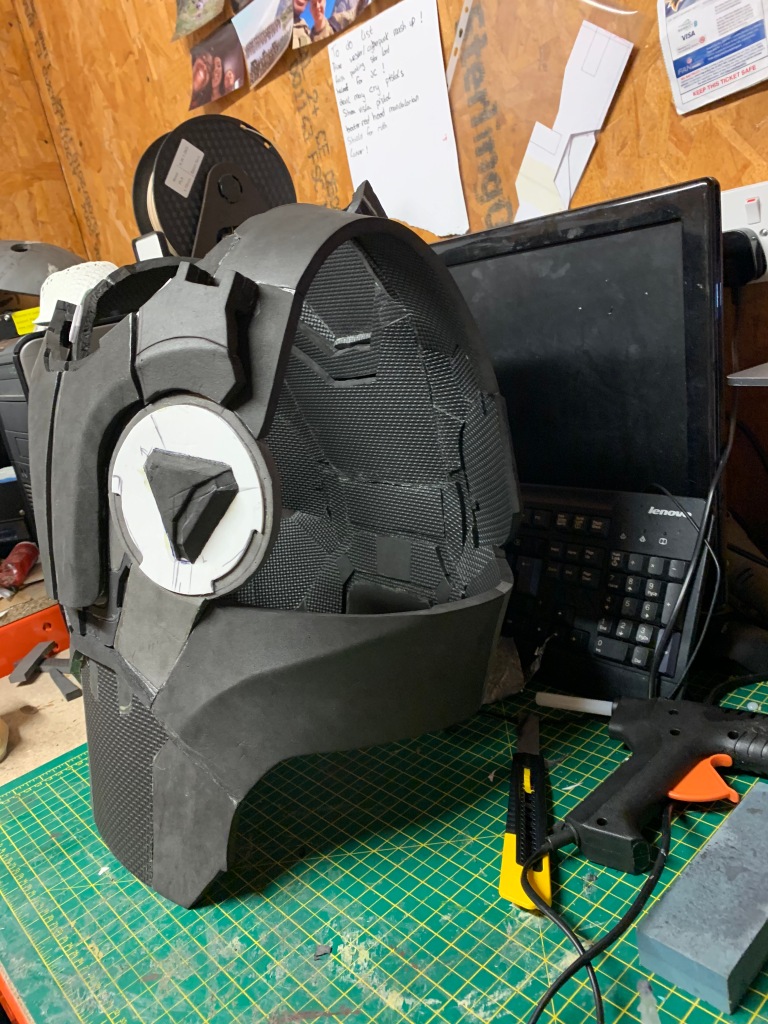
And so here we are at the end of the first section of this build, with the lower base of all 4 helmets done and dusted. The next step would be building up the sides and the back of the helmet and once that is completed I can look at doing the top to complete the base form.
Stay tuned for the next segment that should be out in a weeks time.
Hello all . I thought it was high time I gave you an update on whats happening here at UMAPROPS this new year, (even though we are already a month and a half in haha)
So here are the projects that are currently in the works at the moment, some carrying over from last year.
A remake of the ODST M7S sub-machine gun
Republic commando DC-17M blaster rifle
Starship trooper invasion/traitor of mars armour
Mandalorian armour
Stay tuned for updates on all of these project in a couple weeks and a time line for when they will be finished 😁
so my internet friends, here we are at the end of this 5 week journey. From pictures on the internet, to body form templating, to foam fabrication and now, painting it.
The last thing I did was prep the foam for painting which meant sealing it using mod podge. Then using my trusty airbrush and selection of paints, I got to painting.
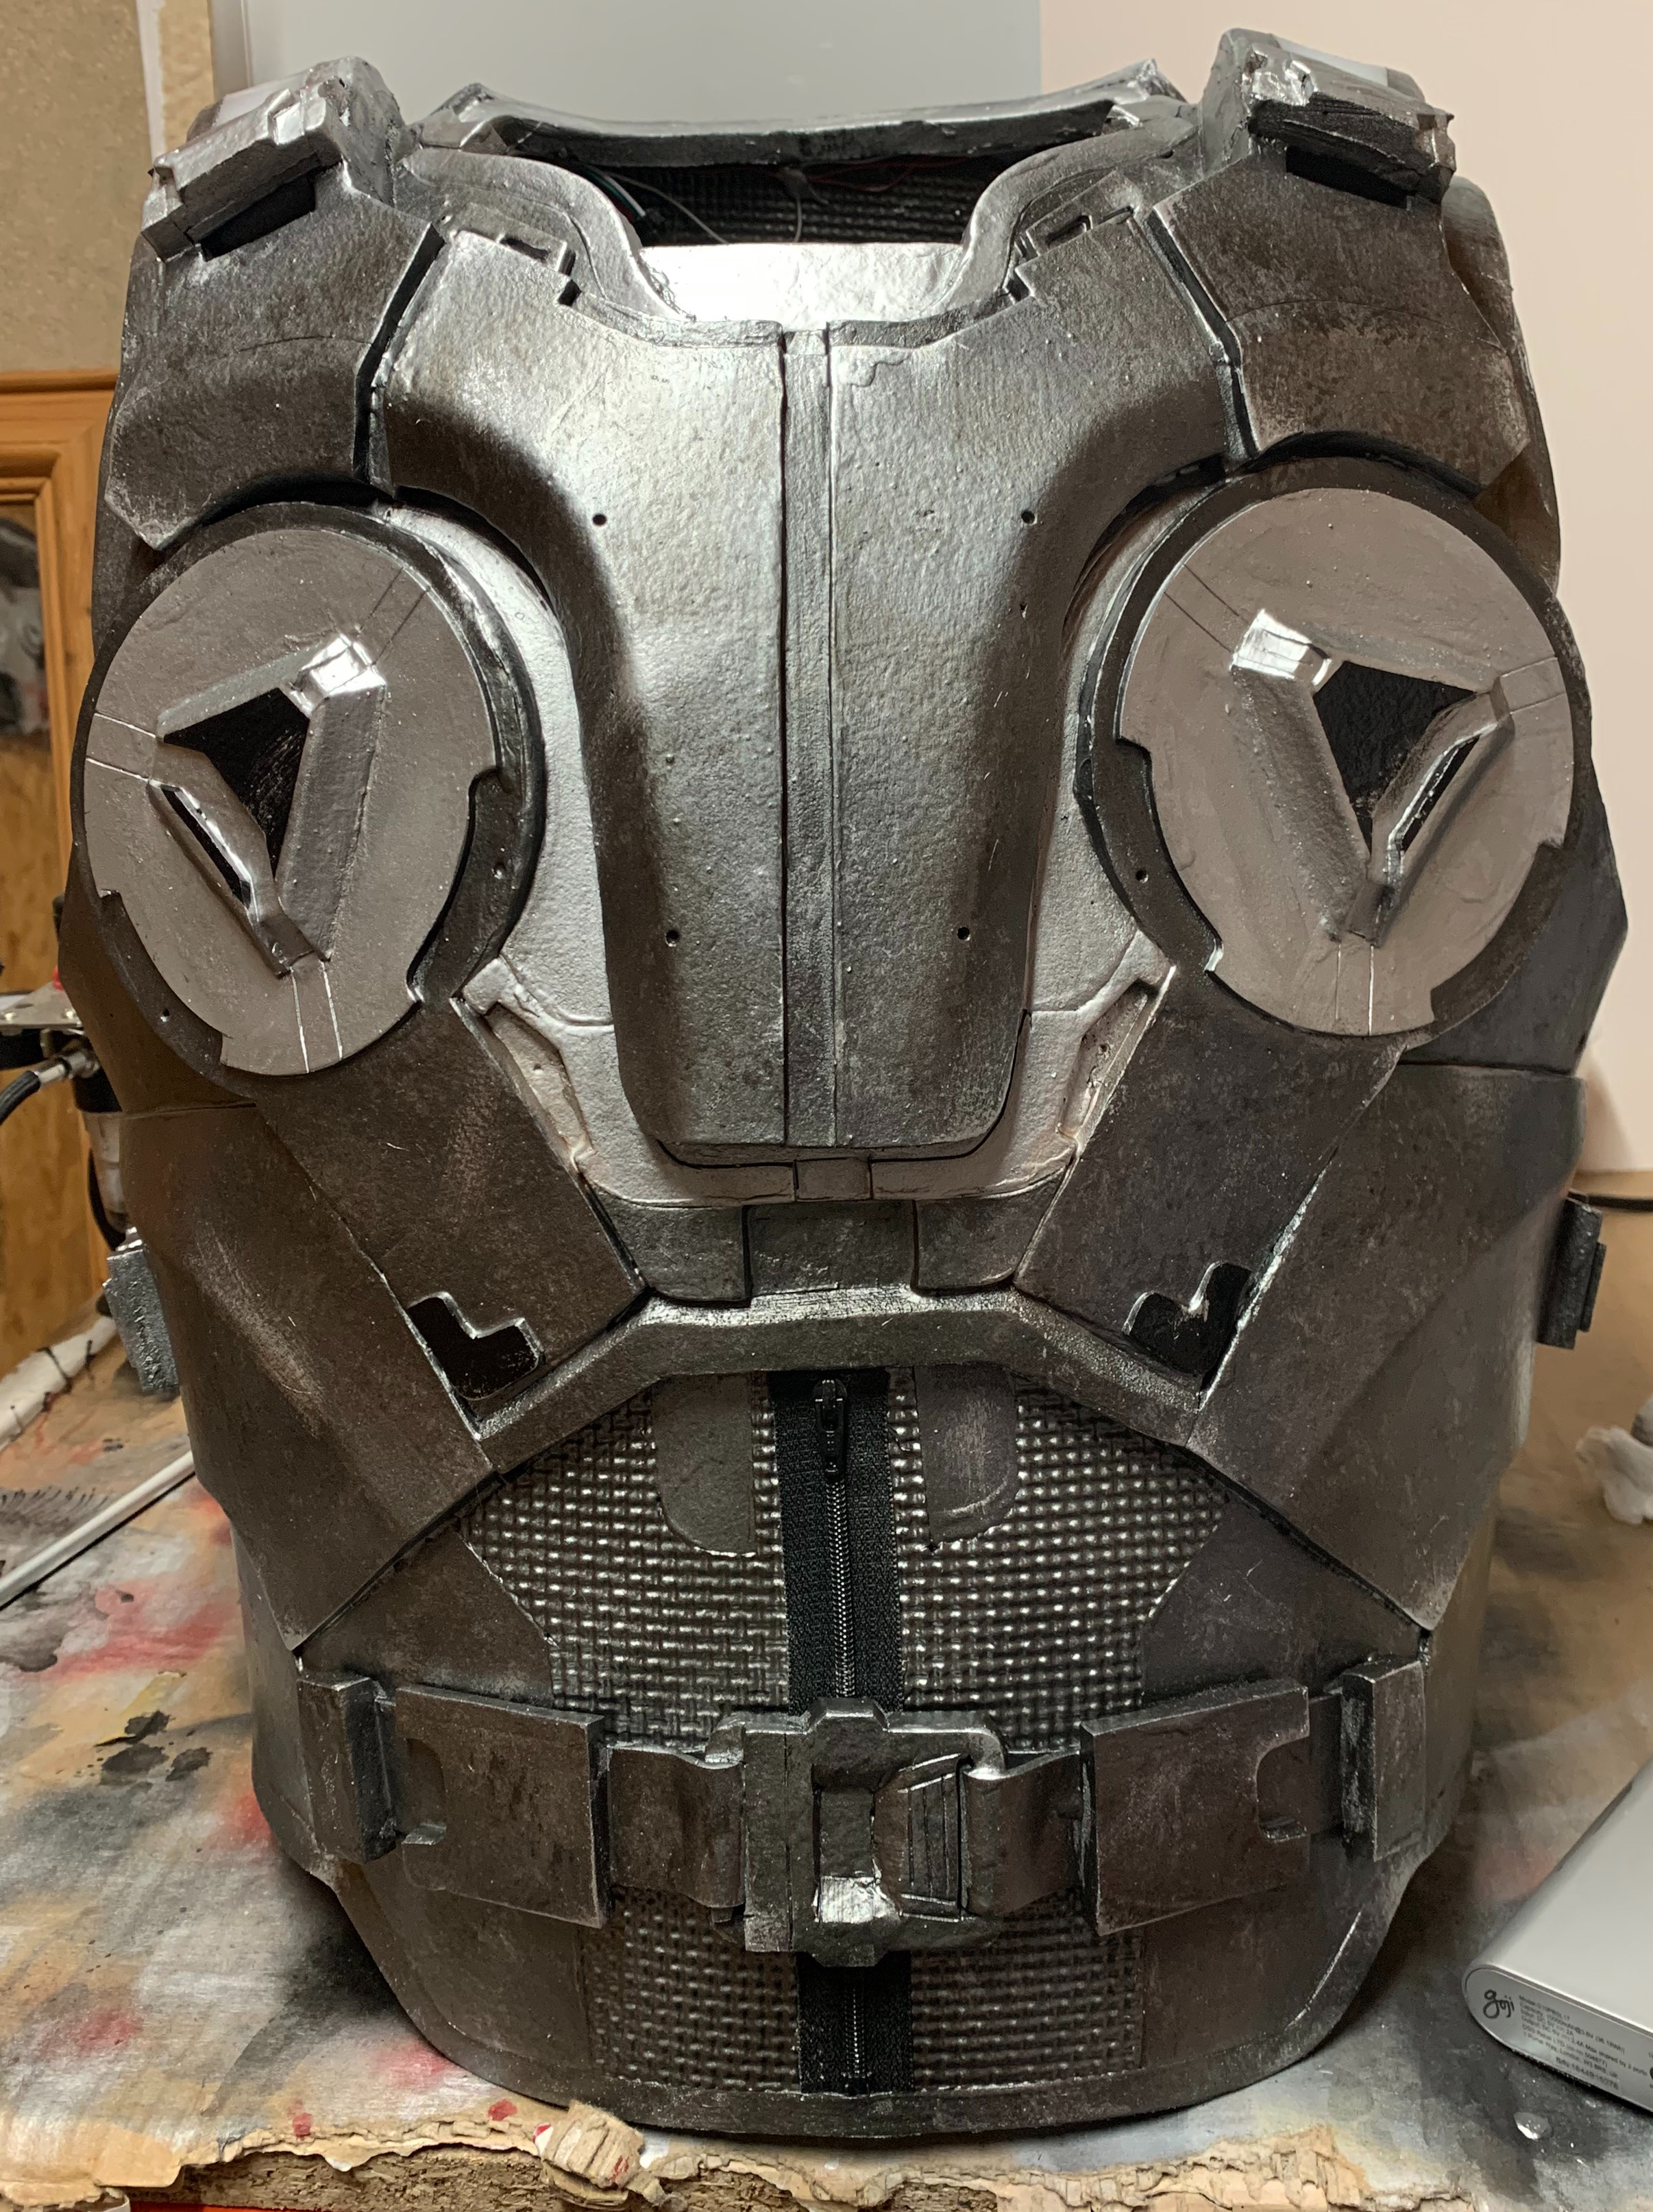
The first colour I used was a chrome silver, which was mainly used on the chest seals at the front, the top of the shoulder pieces, around the neck area and small details on the back.
Once they were done and dry, it was time to mask them off, swap out the chrome silver for gun metal, and then paint the rest pf the armour suit. Literally everything else got the gun metal treatment.
Like before I had to wait for this to be completely dry and so I left it over night to dry thoroughly. When I returned I looked at it and realised I wasn’t happy with just the plain gun metal look. So, taking a page from the prop making gods at PUNISHED PROPS (go check them out they are awesome), I decided to use a technique I had never done before to give this a more metal look.
I mixed gun metal and the silver chrome together in a 50/50 ratio, and using an old brush I dabbed the colour lightly over the whole suit. once that was dried I mixed another colour set but this time using more chrome silver making the final colour brighter, and again dabbed it all over the suit, being careful to not get it on the parts that needed to stay silver. The last colour I used was a darkened gun metal, mixing the gun metal and a matte black until I got the desired colour.
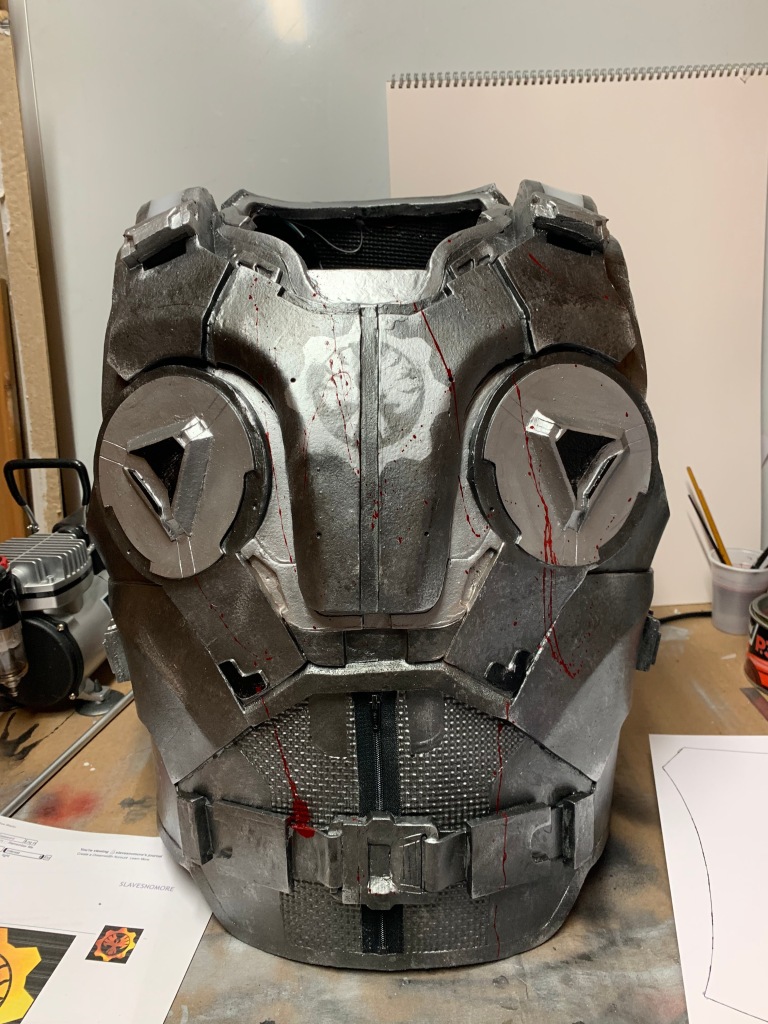
Once it was all done and dry I was very happy with the outcome, especially compared to to plain gun metal. you can see the contrast below.
You can see the change is subtle but bring the suit more to life. I also added the dark triangle on the chest seals by masking and using the air brush again.
The last few steps included the cog symbol on the front of the chest, painting the straps of the belt black, and spraying the same blood colour I used on the lancer, on the front of the armour.
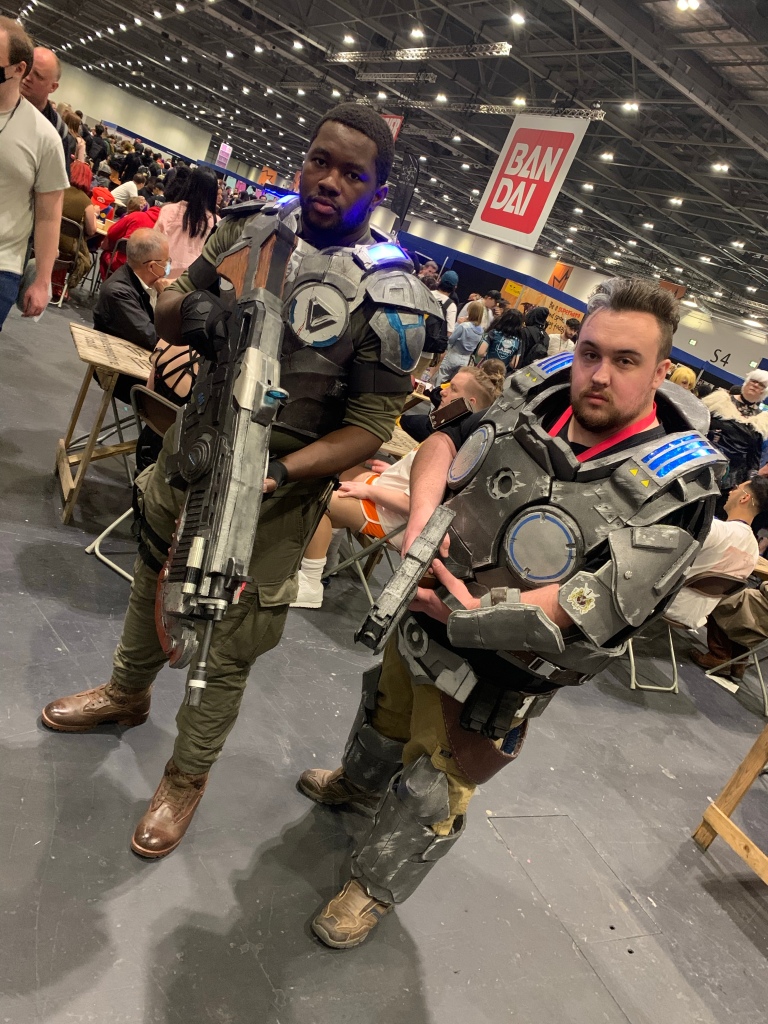
Once that was done I used the silver chrome again to do some light and subtle weathering and this was finally finished!! a good layer of clear coat to cover and protect the paint job and this 5 week project was ready to take on the swarm!
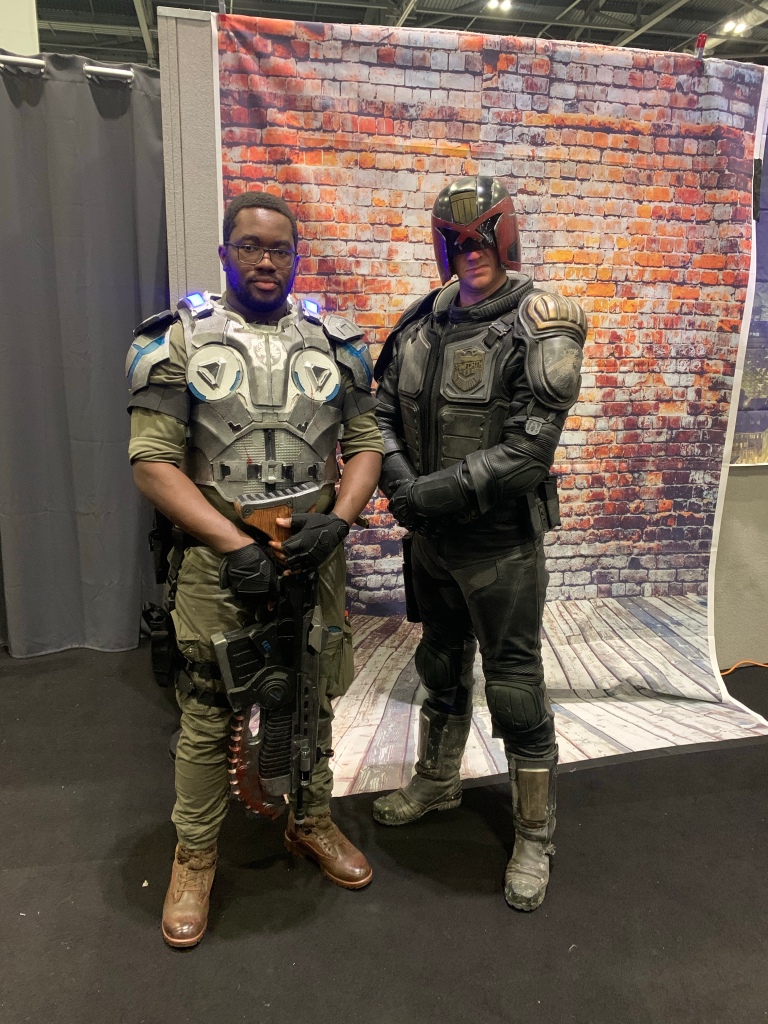
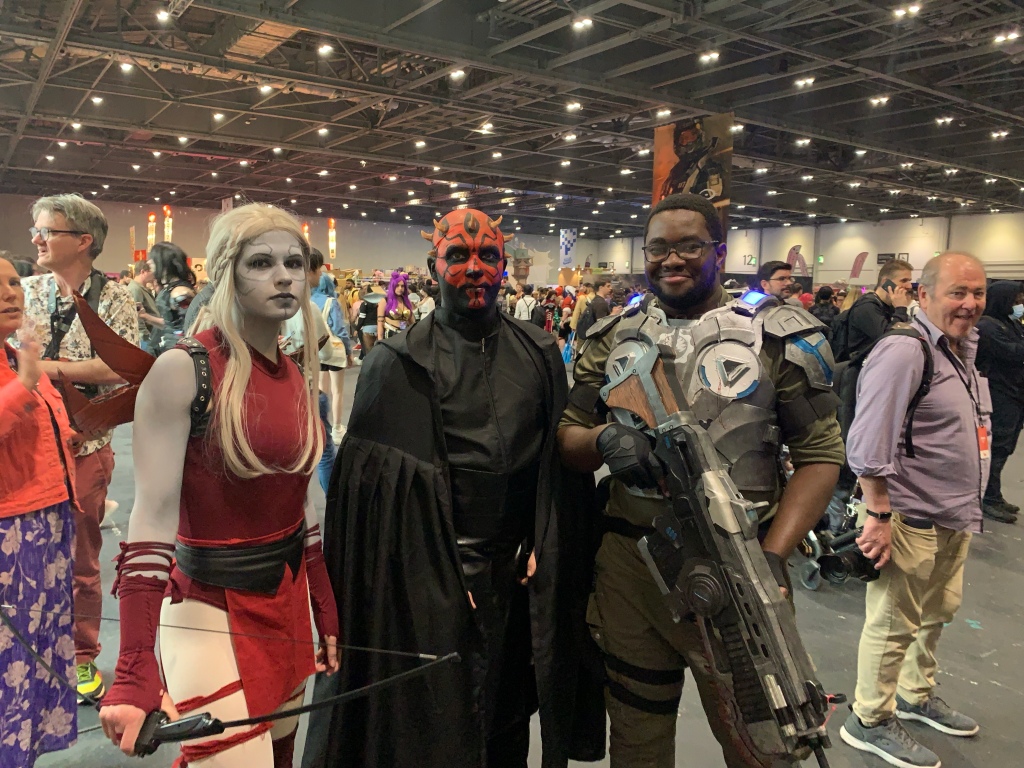
This has been a project I have wanted to make for the past few years now and I couldn’t be happier with how it turned out. Its a vast improvement over gears armour I have made in the past and had helped improve my skills as a whole. Cant wait to wear this to the next comic-con I attended.
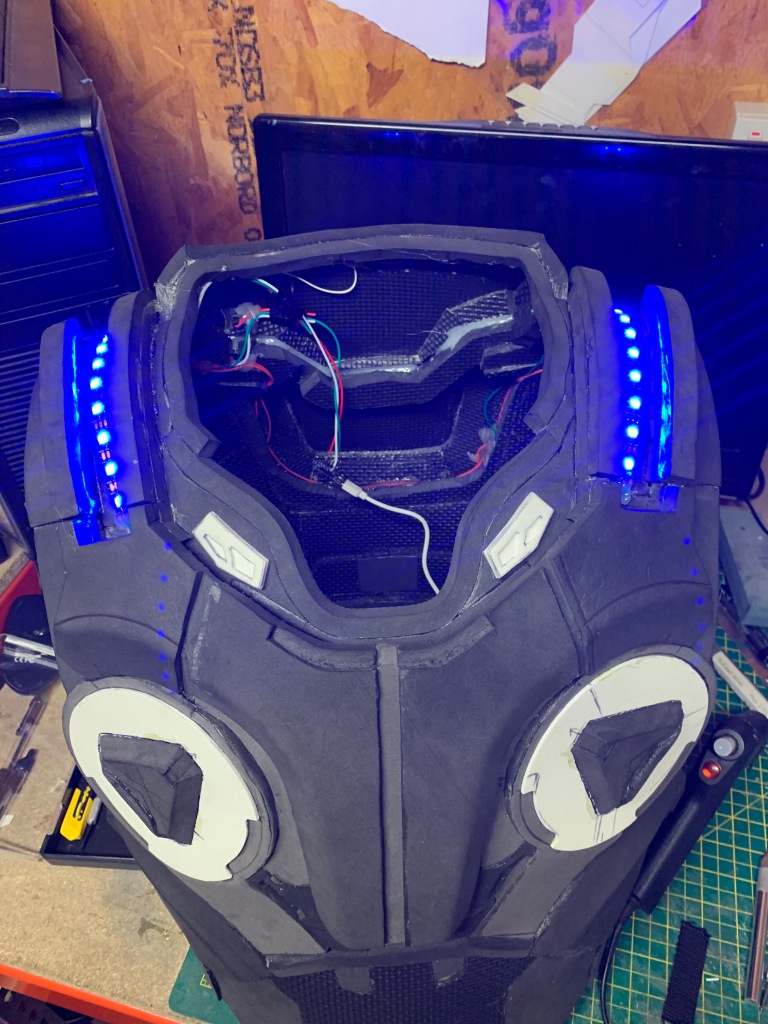
So when we left off I had just soldered wires to the LED strips that were going to be used on the suit. Before I soldered them together and onto the adafruit chip, I wanted to check to see if the code would work and light up properly.
After pulling my hair out for several hours I was finally able to get them to work and trust me, I was so happy!
The problem with the lights as they are above is that they are too bright, and you can see the individual LEDs on the strip itself. Luckily for me I had some plastic which is not see through, but would allow light to pass through never the less.
All I had to do was cut them to the right shape and then glue them into their final home.
you can see how much the plastic diffuses the bright LEDs compared to the one on the left.
Once that was done it suit looked like this.
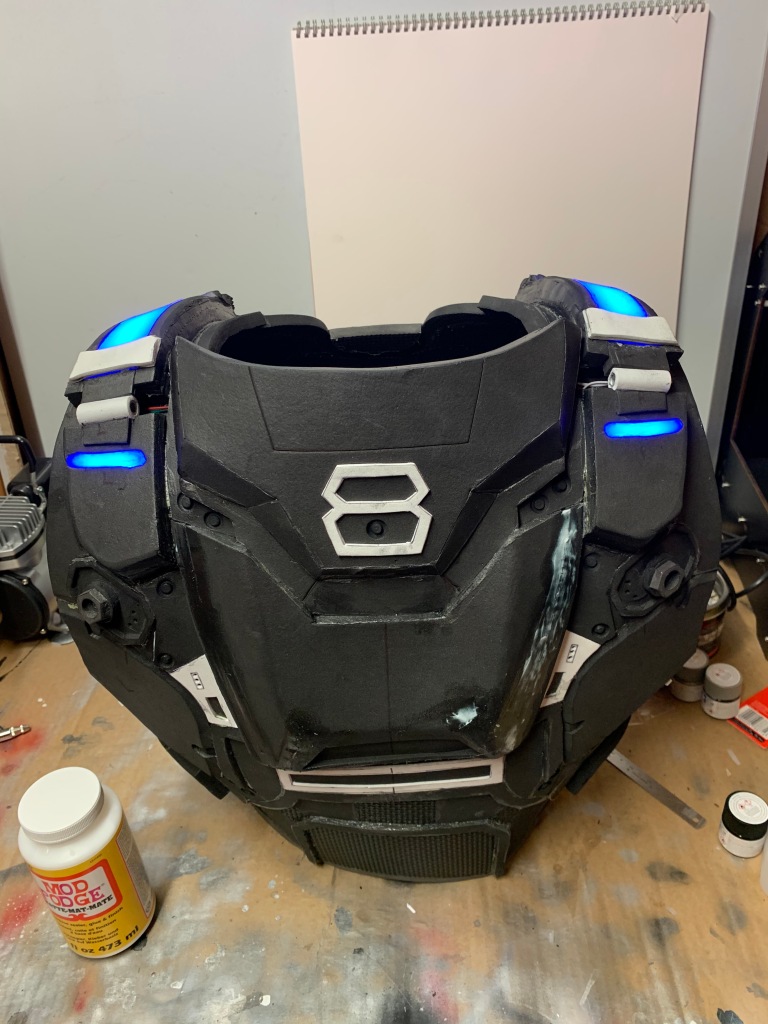
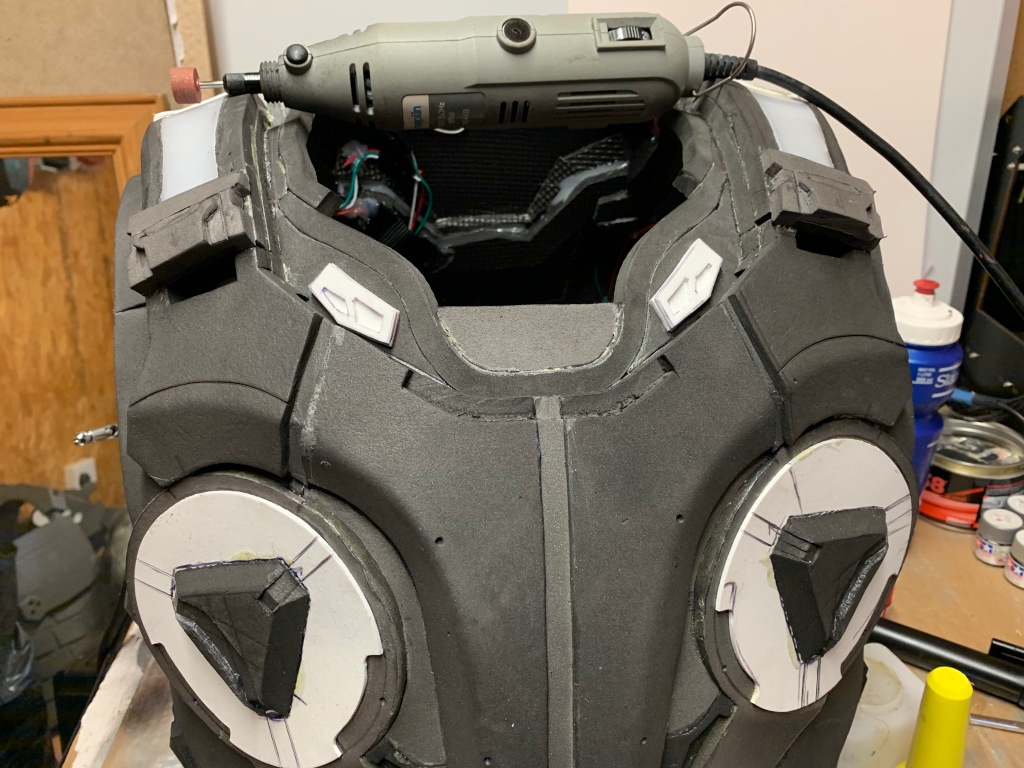
With the lights all done it was time to finish off the fabrication which included the belt (which you can see above) and detail work on both the front and the back.
Once I was happy with the fabrication I used my rotary tool with a smooth sanding bit to round off any sharp angles, create bevels, and to generally clean up connection foam pieces
I was also considering adding physical damage to the foam itself but after going back to the reference images I decided against it and any damage I wanted to could be added by painting.
Next step was more cleaning up using kwik seal on the seams and connecting foam that is meant to look like just one piece, I simply apply the kwik seal and allow it to dry completely before added the next layer.
The last thing to do was to get the suit ready for painting which meant priming it. I used a heat gun to heat seal the foam, and then using a brush and mod podge, applied 3 good layers all over the foam, which is my minimum amount of layers I apply to any prop.
just waiting for the mod podge to dry now
And thus another week as past. This is now in the final leg of the build and I cannot wait for this to be finished as Im looking forward to the end result. From tomorrow I will start the painting process and by the next post it should be all done! so stay tuned to for next week instalment!!
Hey there prop and costume fans. Here we are again with the next weekly update on the JD Fenix armour.
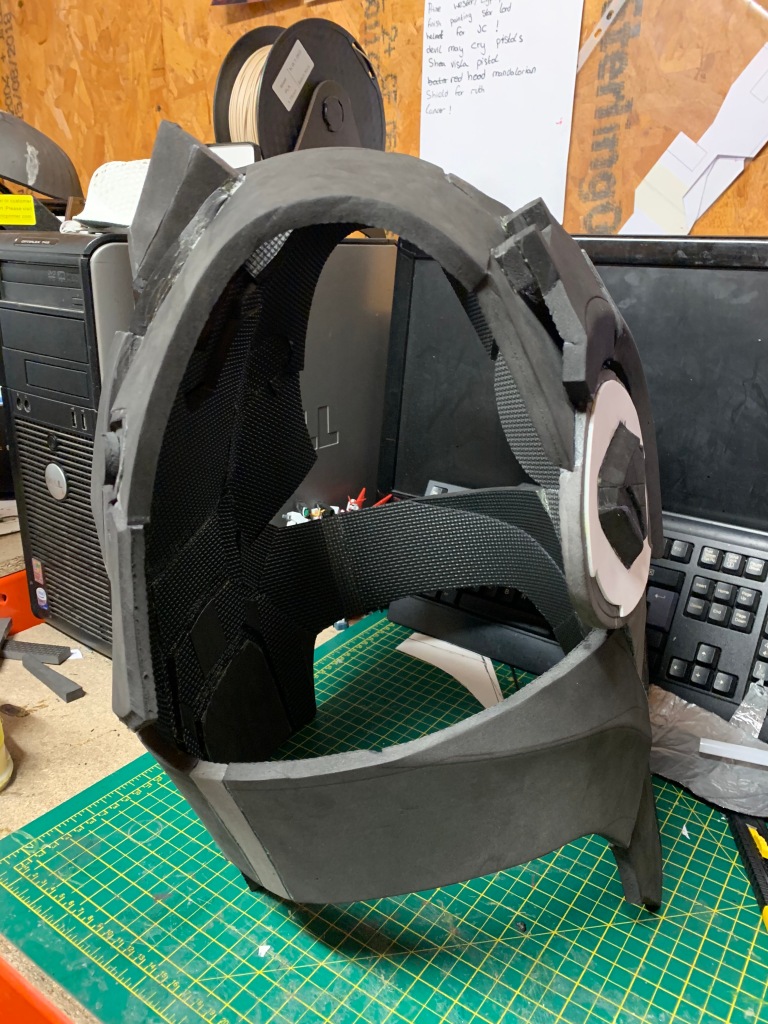
The last part I had done last week was attaching the front and back pieces via the shoulder, allowing me to see if my big head would fit through the gap. spoiler alert…..it did!
So the logical next step for me was to do both the sides that run around my ribs from the front to the back foam pieces. It took a little long that I wanted it to because I had to do a bit of trail and error with the bevels that had to be in place.
I also had to think about the best way to get in and out of the suit because that was the issue I came across when I first made this armour last year. Last year I tried to use a zipper but that ultimately failed to the point I had to scrap the whole thing.
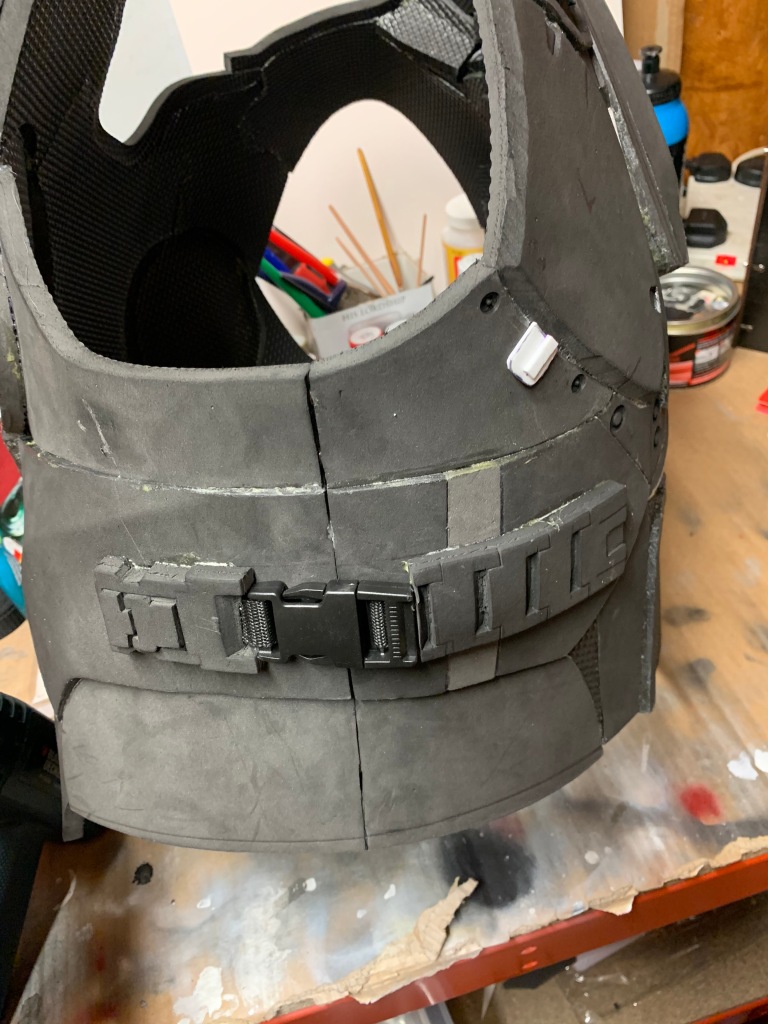
My first idea was to use magnets, but after testing it around my body I soon realised it wouldn’t be enough so thought about using a buckle and incorporating it into the design of the armour itself like you can see below.
With both the magnets and the buckle on the one side it will be very easy for me to slip in and out of it.
With that problem solved the main fabrication of the suit it done! It was now time to move onto the electronics and the lighting.
I am using programmable LED strip lights I was able to procure from amazon. These are the kind of lights you see both prop makers use and people use around their homes for mood lighting or even for parties.
Programming them is pretty simple with the use of the Arduino programme and using an logic chip. The one I chose to use was the Adafruit 5v trinket due to it powerful but small size, which I could fit into the armour with little worry about it getting in the way of, well, me wearing it. As for the power source I have a few battery packs that give off 5v which will work perfectly.
I was able to solder all the wire connections to the LED strip but unfortunately ran out of time to link it to the the adafruit trinket but just means I know exactly where to start off next week!
If you want to try this out for yourself I will link the components and relevant information below
So here we are, 1 week in and the build is well on the way. As always when I start a project the first thing needed is reference images and luckily for me there are plenty online. The one linked below if what I used through the build.
With the images ready it was time to sketch the rough dimensions onto a replica of my torso.
From the duct tape torso it was transferred to card, and then card to foam.
Then it was the not so simple process of cutting the foam out with my trusty X-acto knife, figuring out where undercuts had to go, what had to be bevelled and by how much, and how different parts would fit together.
It was rinse and repeat till I had what is pictured below.
I’m hoping to make more progress next week on the rest of the front armour and then move onto the back.