Soooooo before I post what I did for comic-con this year I thought I would share what my current project is so here we are !!
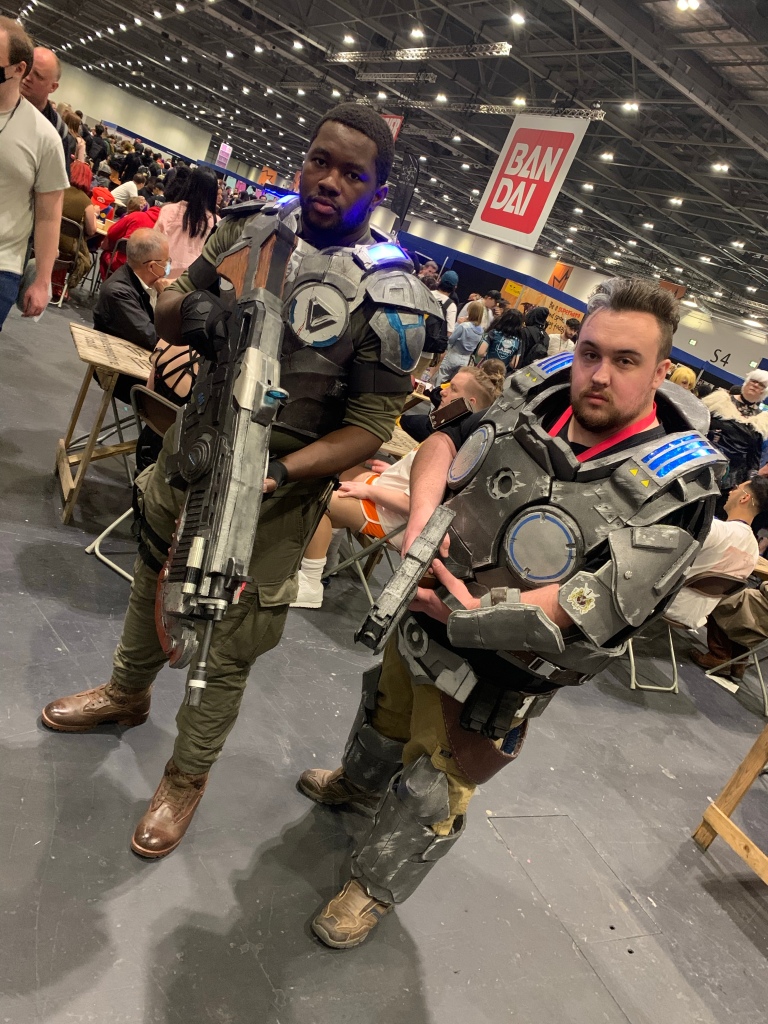
So I came across this amazing artist at mcm comic-con this year… so good that I bought two of his pictures but then I went through his instagram page and found more goodies including the one below
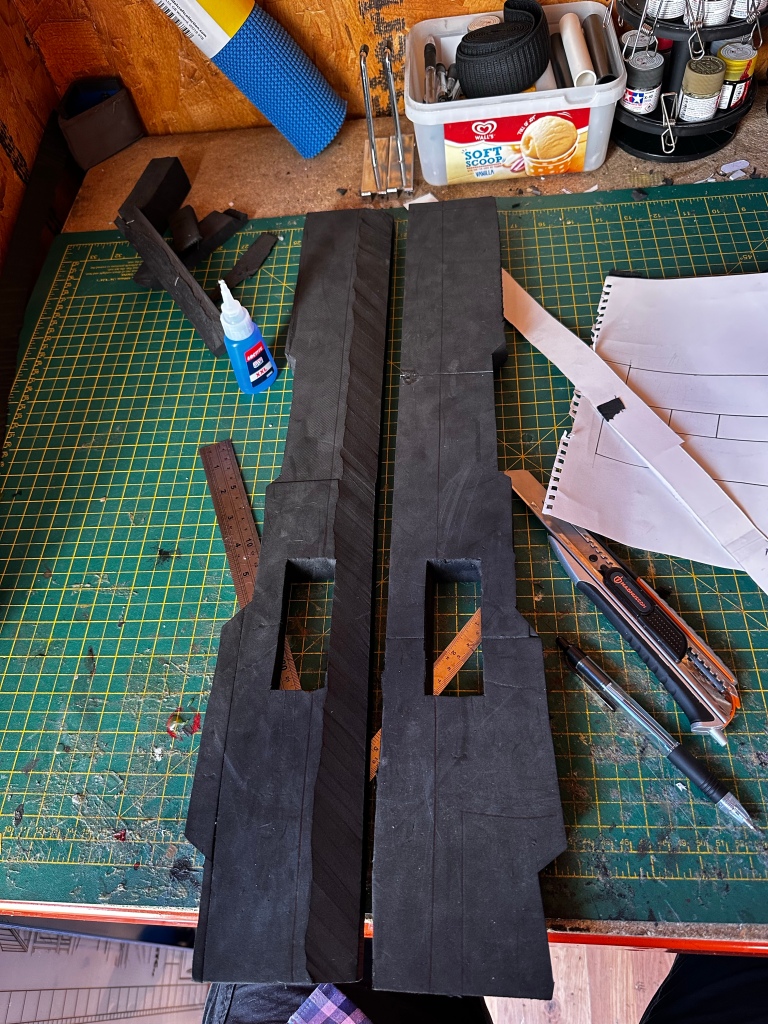
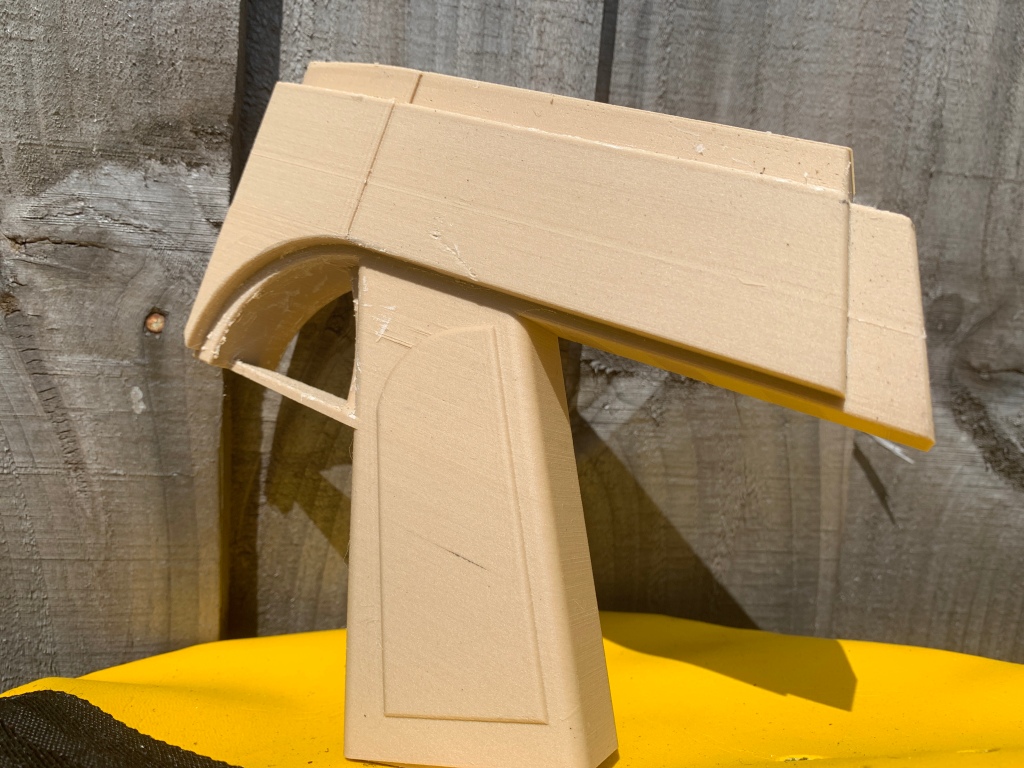
And here it is what I am currently working on,m! I won’t be making the armour I am just focusing on the shotgun/lasgun hybrid and below is the progress I have made so far in order.
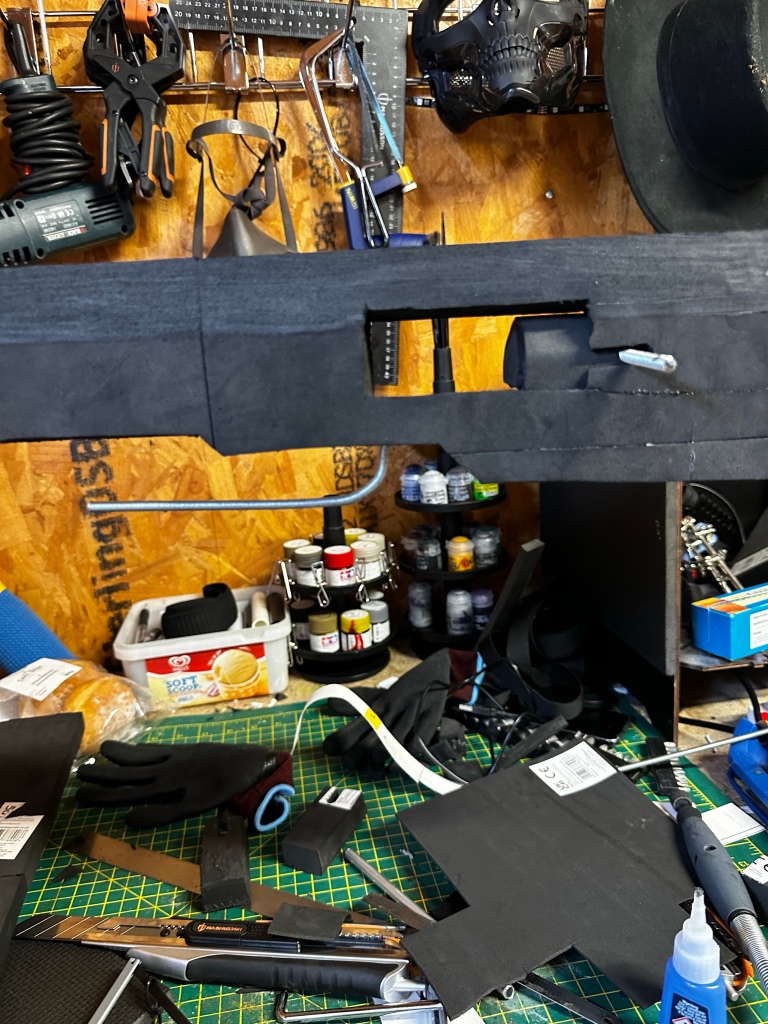
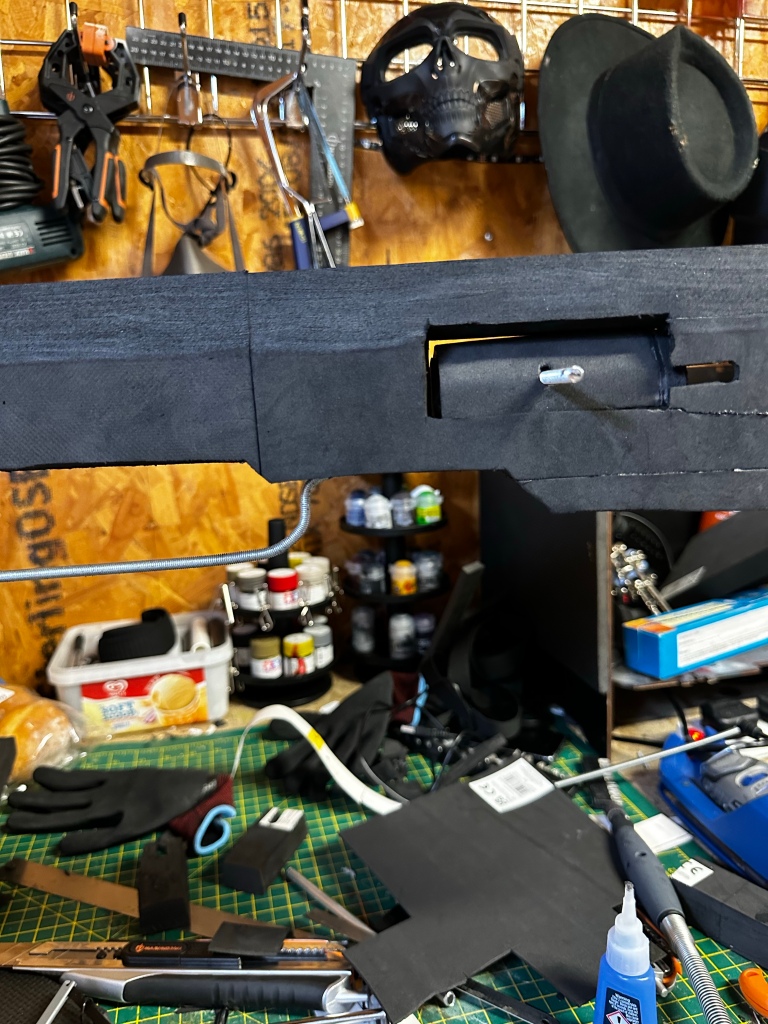
The bulk of the body which will be skinned with thin foam The front of the boot itself. I plan to have it move back and forth like a functioning bolt
In the next post I will show how exactly how I have figured out the moving bolt and the next steps of the making process so stay tuned
ALSO here’s the website to the amazing artist I got the inspiration from and his awesome work go check it out
So I have taken a very long hiatus from both this website and prop making for quite a while, and though I picked up the ol foam and knife recently to make a suit for london Comic-Con, this site still wasn’t shown the attention it was needed. Until now!
The next few posts will be show the intermittent props I have made since 2021, the last two Comic-Cons I attended and what I went as, and also the new project I am currently working on so please stay tuned.
And I am very much looking forward to getting back into utilising this site again.
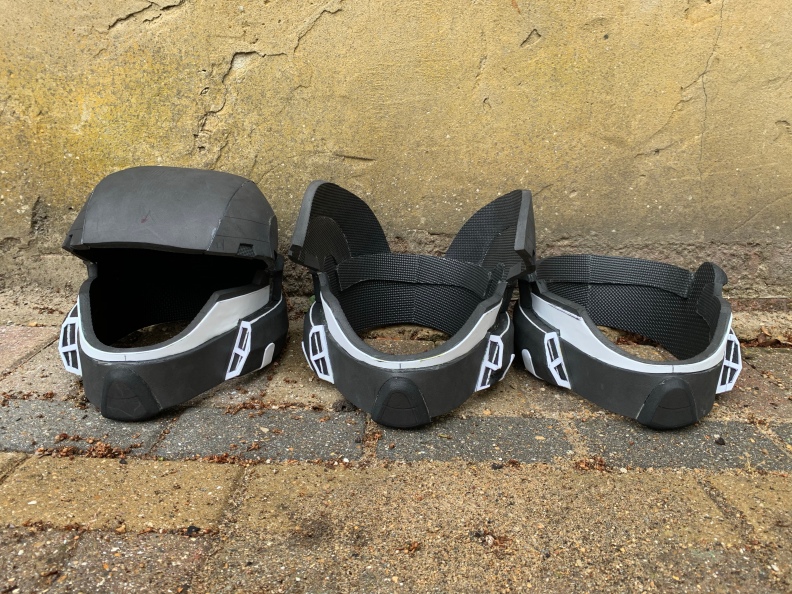
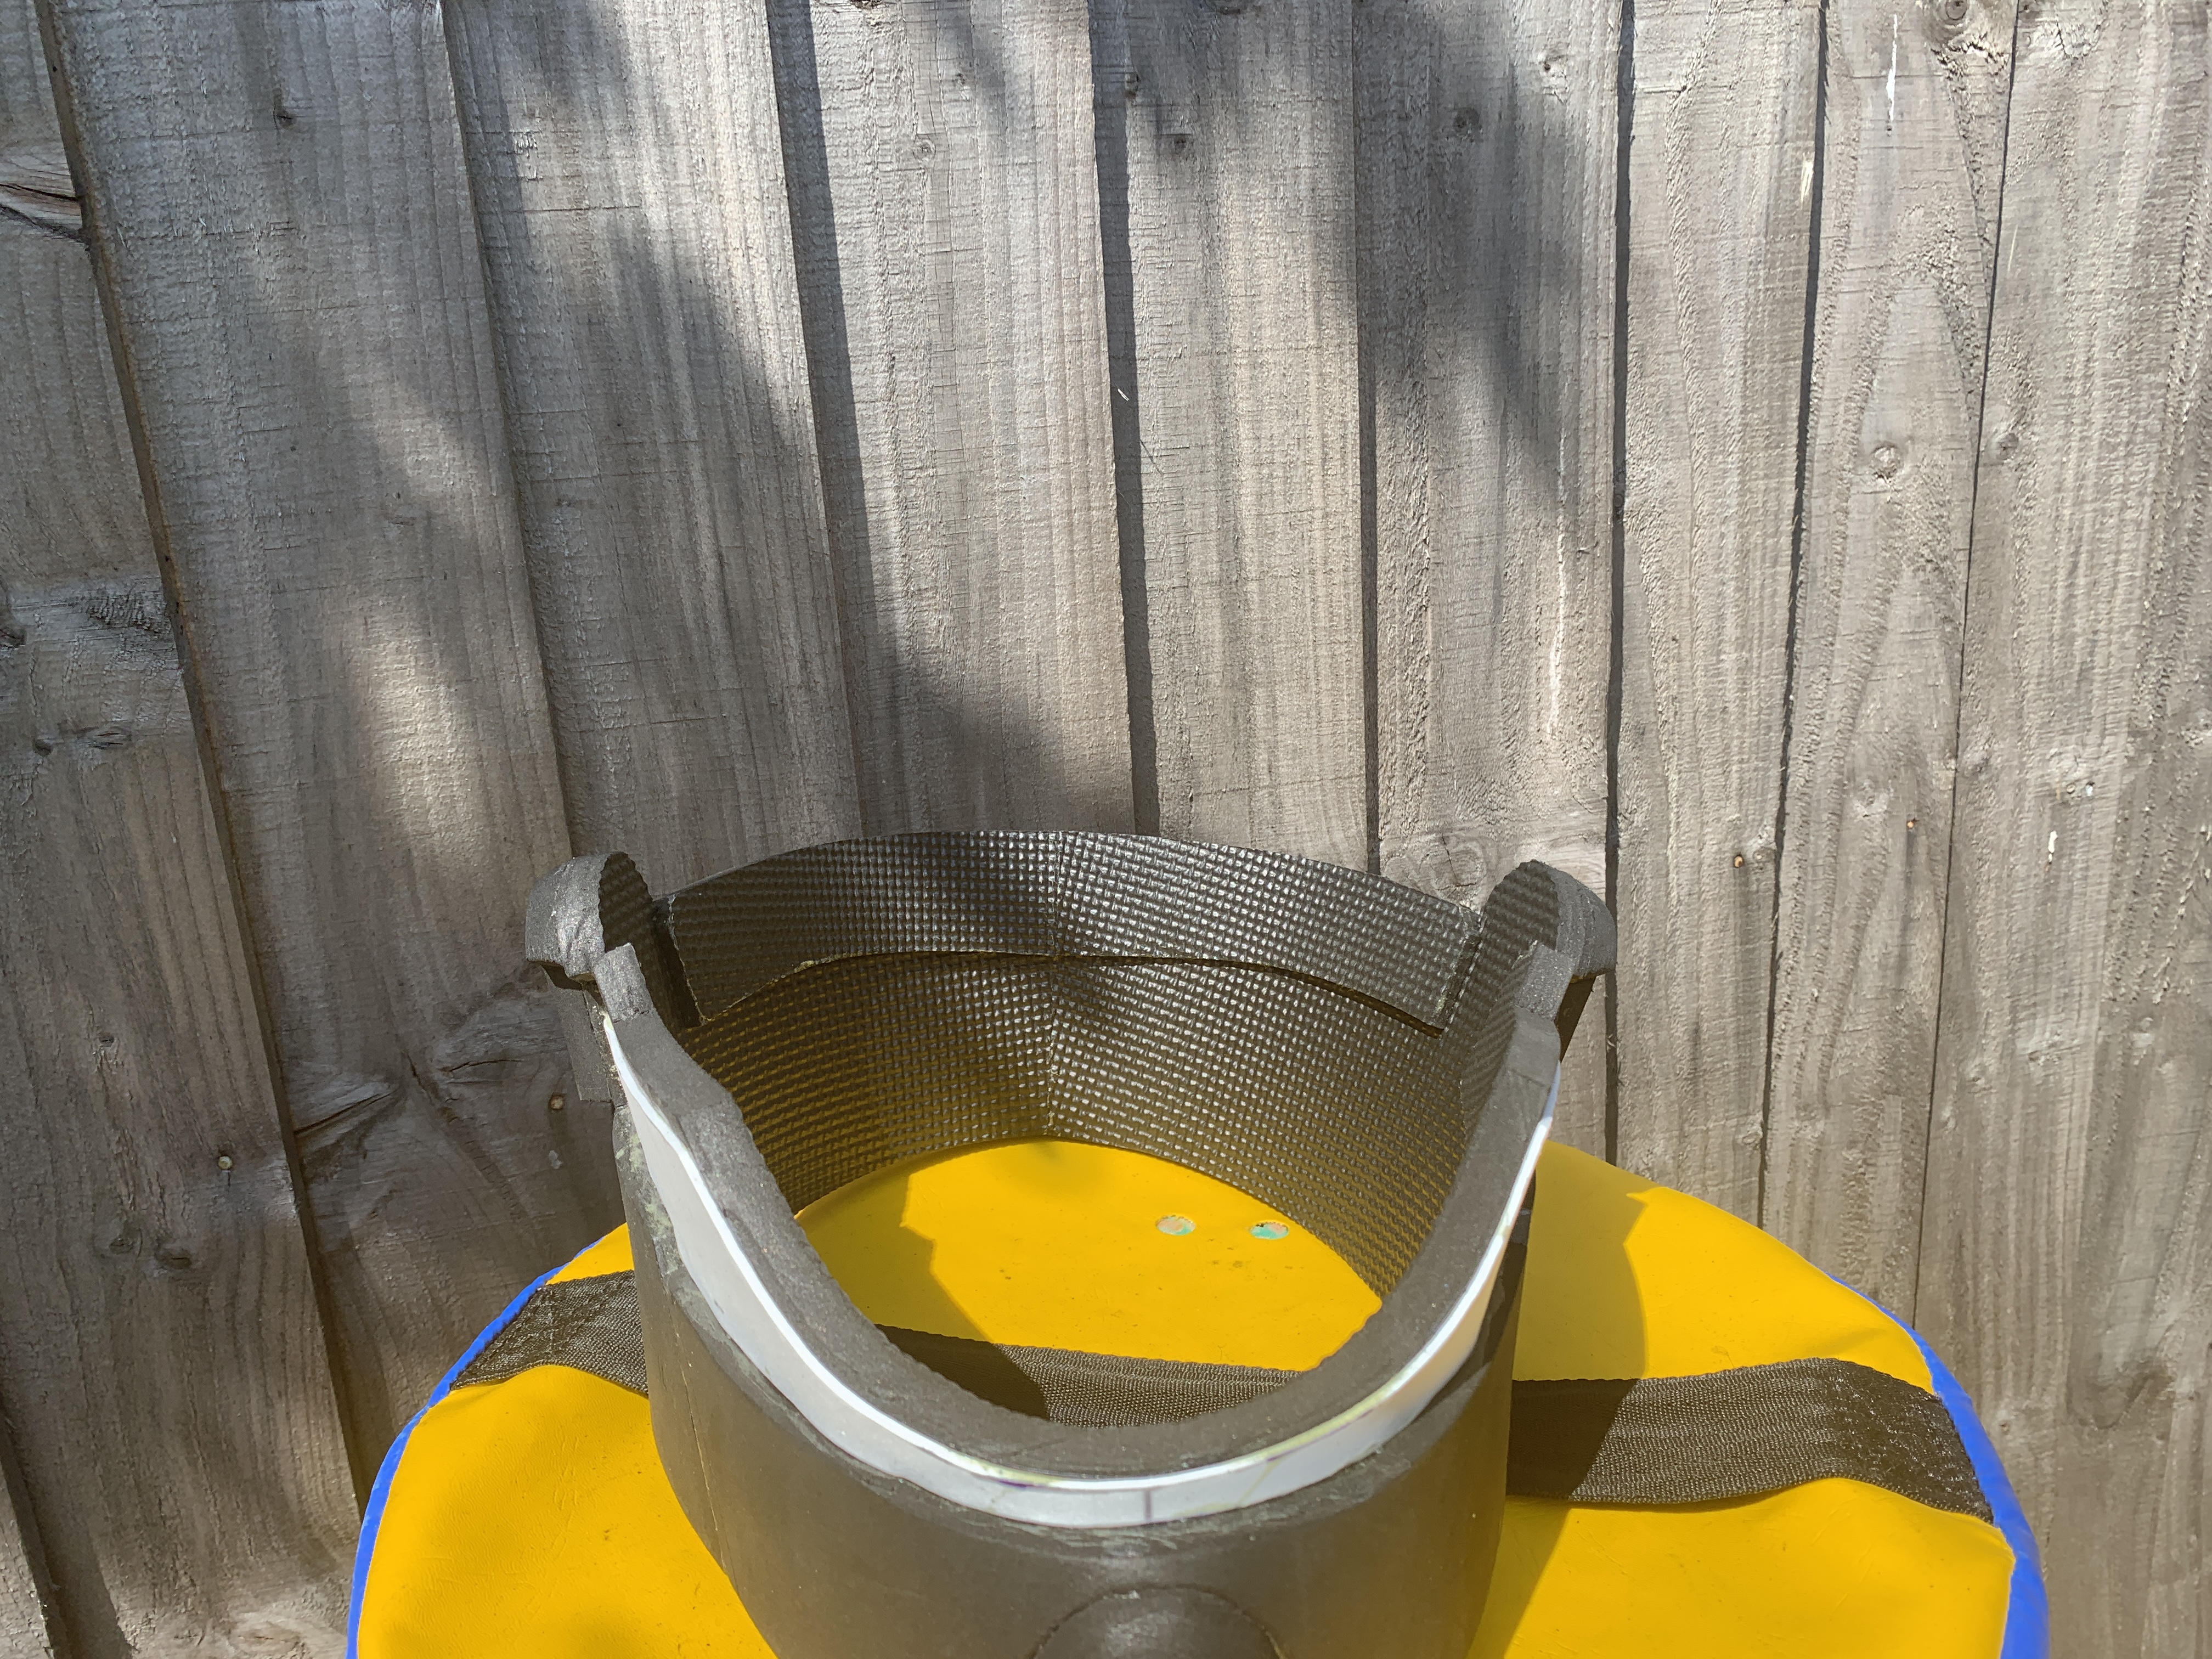
More work has been done on the set of helmets so here we are. I left off with the base of the helmet in a good position so it was time to work on the side pieces that sit on either side of the cheeks, and also the top of the helmet.
Trial and error was used to make the side pieces as I wanted them to be closer to some of the reference images I found online such as the one below, which I referred to often.
After some careful cutting and a lot of sanding the side pieces were done. Cutting the bevels were fairly simple, it just needed a stead hand and patience, but the sanding took time due to constantly stepping up the sanding sheets starting from 80, finishing with a 600 grit sand paper.
Once they were done and dusted and glued onto the body of the helmet it was on to the roof of it all. It was pretty simple, following the patterns, making they fit into place and then gluing them together. One modification that had to be made was cutting down the width of the central ridge because I over compensated when adding to the pattern, so instead of adding 2cm all the way round, it ended up just being 1cm wider.
below you can see the various stages of the top being assembled, plus the unaltered central ridge, which didn’t look right both when on its own and when it was worn.
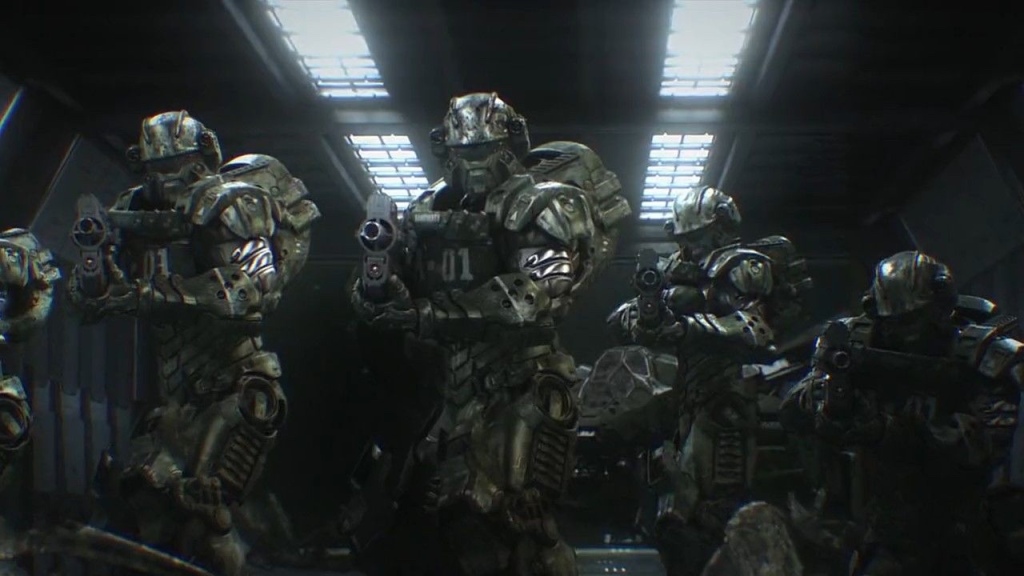
Once all the helmets were at the same stage as the one of the right left it was time to customise them so they all had some individuality to them. To put it into perspective each helmet would take on a similar look to those from the squad “ALPHA-NINE” from Halo 3 ODST. the images below show the different types of helmets that will be made.
I will tackle each helmet style one by one until they are all done and then I can start with the paint Job, which I cannot wait to begin.
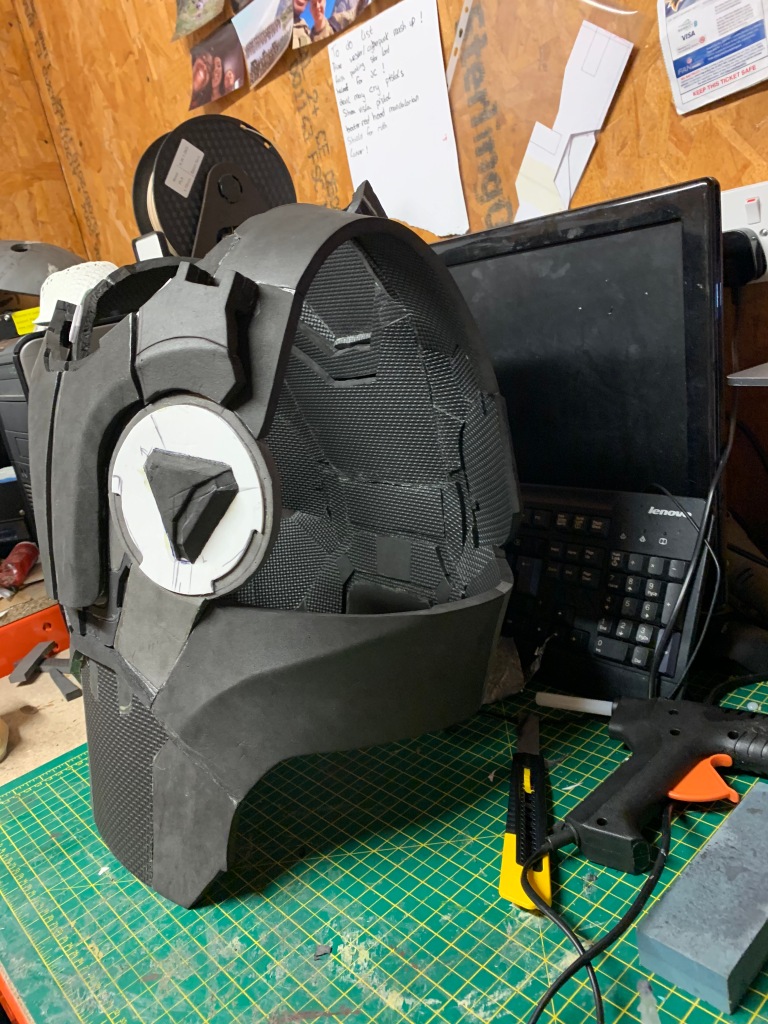
Hello again everyone. Only a week has passed from the first part of this build but a fair amount of work has been completed on the build so I thought it was a good time to show how far they have come.
You can see below where things were left off
The next step was to just build upwards along the back and front as these would be the foundations for the “roof” of the helmet
I also wanted to tackle the centre piece that sits just in-front of the chin as it helps give the helmet it’s distinctive shape and design
One of the benefits of making 4 of these things is once I’ve planned things using the prototype helmet (mine) it’s a lot easier to get the other three to the same stage. And then it’s rinse and repeat over and over again!
The next post will detail how I tackle the top of the helmet as that’s the next step. I don’t want to start adding more detail to the parts I’ve done till more of the base helmet is completed so keep an eye out for the next post
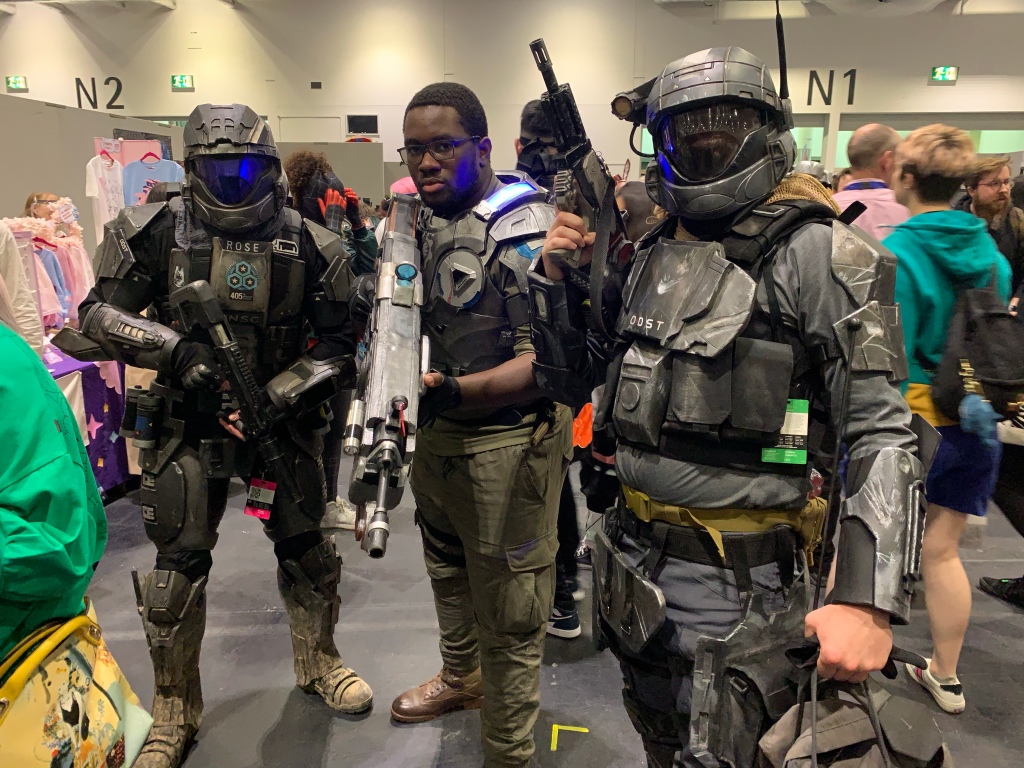
So here it is the first post for this project. I was commissioned to create a set of 3 ODST helmets for a group cosplay that will be happening later this year. seeing as I am already making 3 I decided to make one for myself as well as it had been a couple years since I make the full ODST cosplay set you can see below.
Keeping command in the know!
Those who reached out had seen this and thus helped in their decision to approach me to create said helmets, and so here we are at the beginning of the journey, and like any project the first thing I needed was blueprints.
The blueprints I went with was created by Andrew DFT, the same one that I used years back and I must say it is a great template to work off but I planned deviate from it from time to time, which will be more apparent later down the line.
I also looked extensively online for inspiration on how to make each one stand out from one another but for now the main effort is to just build the base helmet and then I can make them all unique after
And so here we are at the end of the first section of this build, with the lower base of all 4 helmets done and dusted. The next step would be building up the sides and the back of the helmet and once that is completed I can look at doing the top to complete the base form.
Stay tuned for the next segment that should be out in a weeks time.
Hello all . I thought it was high time I gave you an update on whats happening here at UMAPROPS this new year, (even though we are already a month and a half in haha)
So here are the projects that are currently in the works at the moment, some carrying over from last year.
A remake of the ODST M7S sub-machine gun
Republic commando DC-17M blaster rifle
Starship trooper invasion/traitor of mars armour
Mandalorian armour
Stay tuned for updates on all of these project in a couple weeks and a time line for when they will be finished 😁
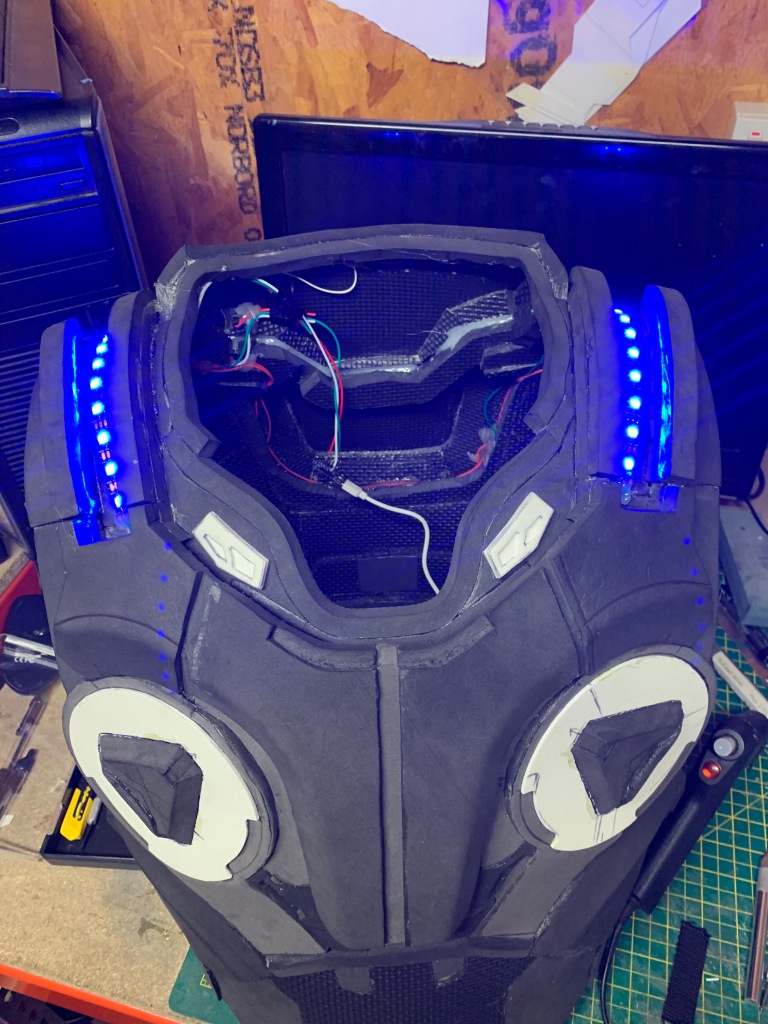
so my internet friends, here we are at the end of this 5 week journey. From pictures on the internet, to body form templating, to foam fabrication and now, painting it.
The last thing I did was prep the foam for painting which meant sealing it using mod podge. Then using my trusty airbrush and selection of paints, I got to painting.
The first colour I used was a chrome silver, which was mainly used on the chest seals at the front, the top of the shoulder pieces, around the neck area and small details on the back.
Once they were done and dry, it was time to mask them off, swap out the chrome silver for gun metal, and then paint the rest pf the armour suit. Literally everything else got the gun metal treatment.
Like before I had to wait for this to be completely dry and so I left it over night to dry thoroughly. When I returned I looked at it and realised I wasn’t happy with just the plain gun metal look. So, taking a page from the prop making gods at PUNISHED PROPS (go check them out they are awesome), I decided to use a technique I had never done before to give this a more metal look.
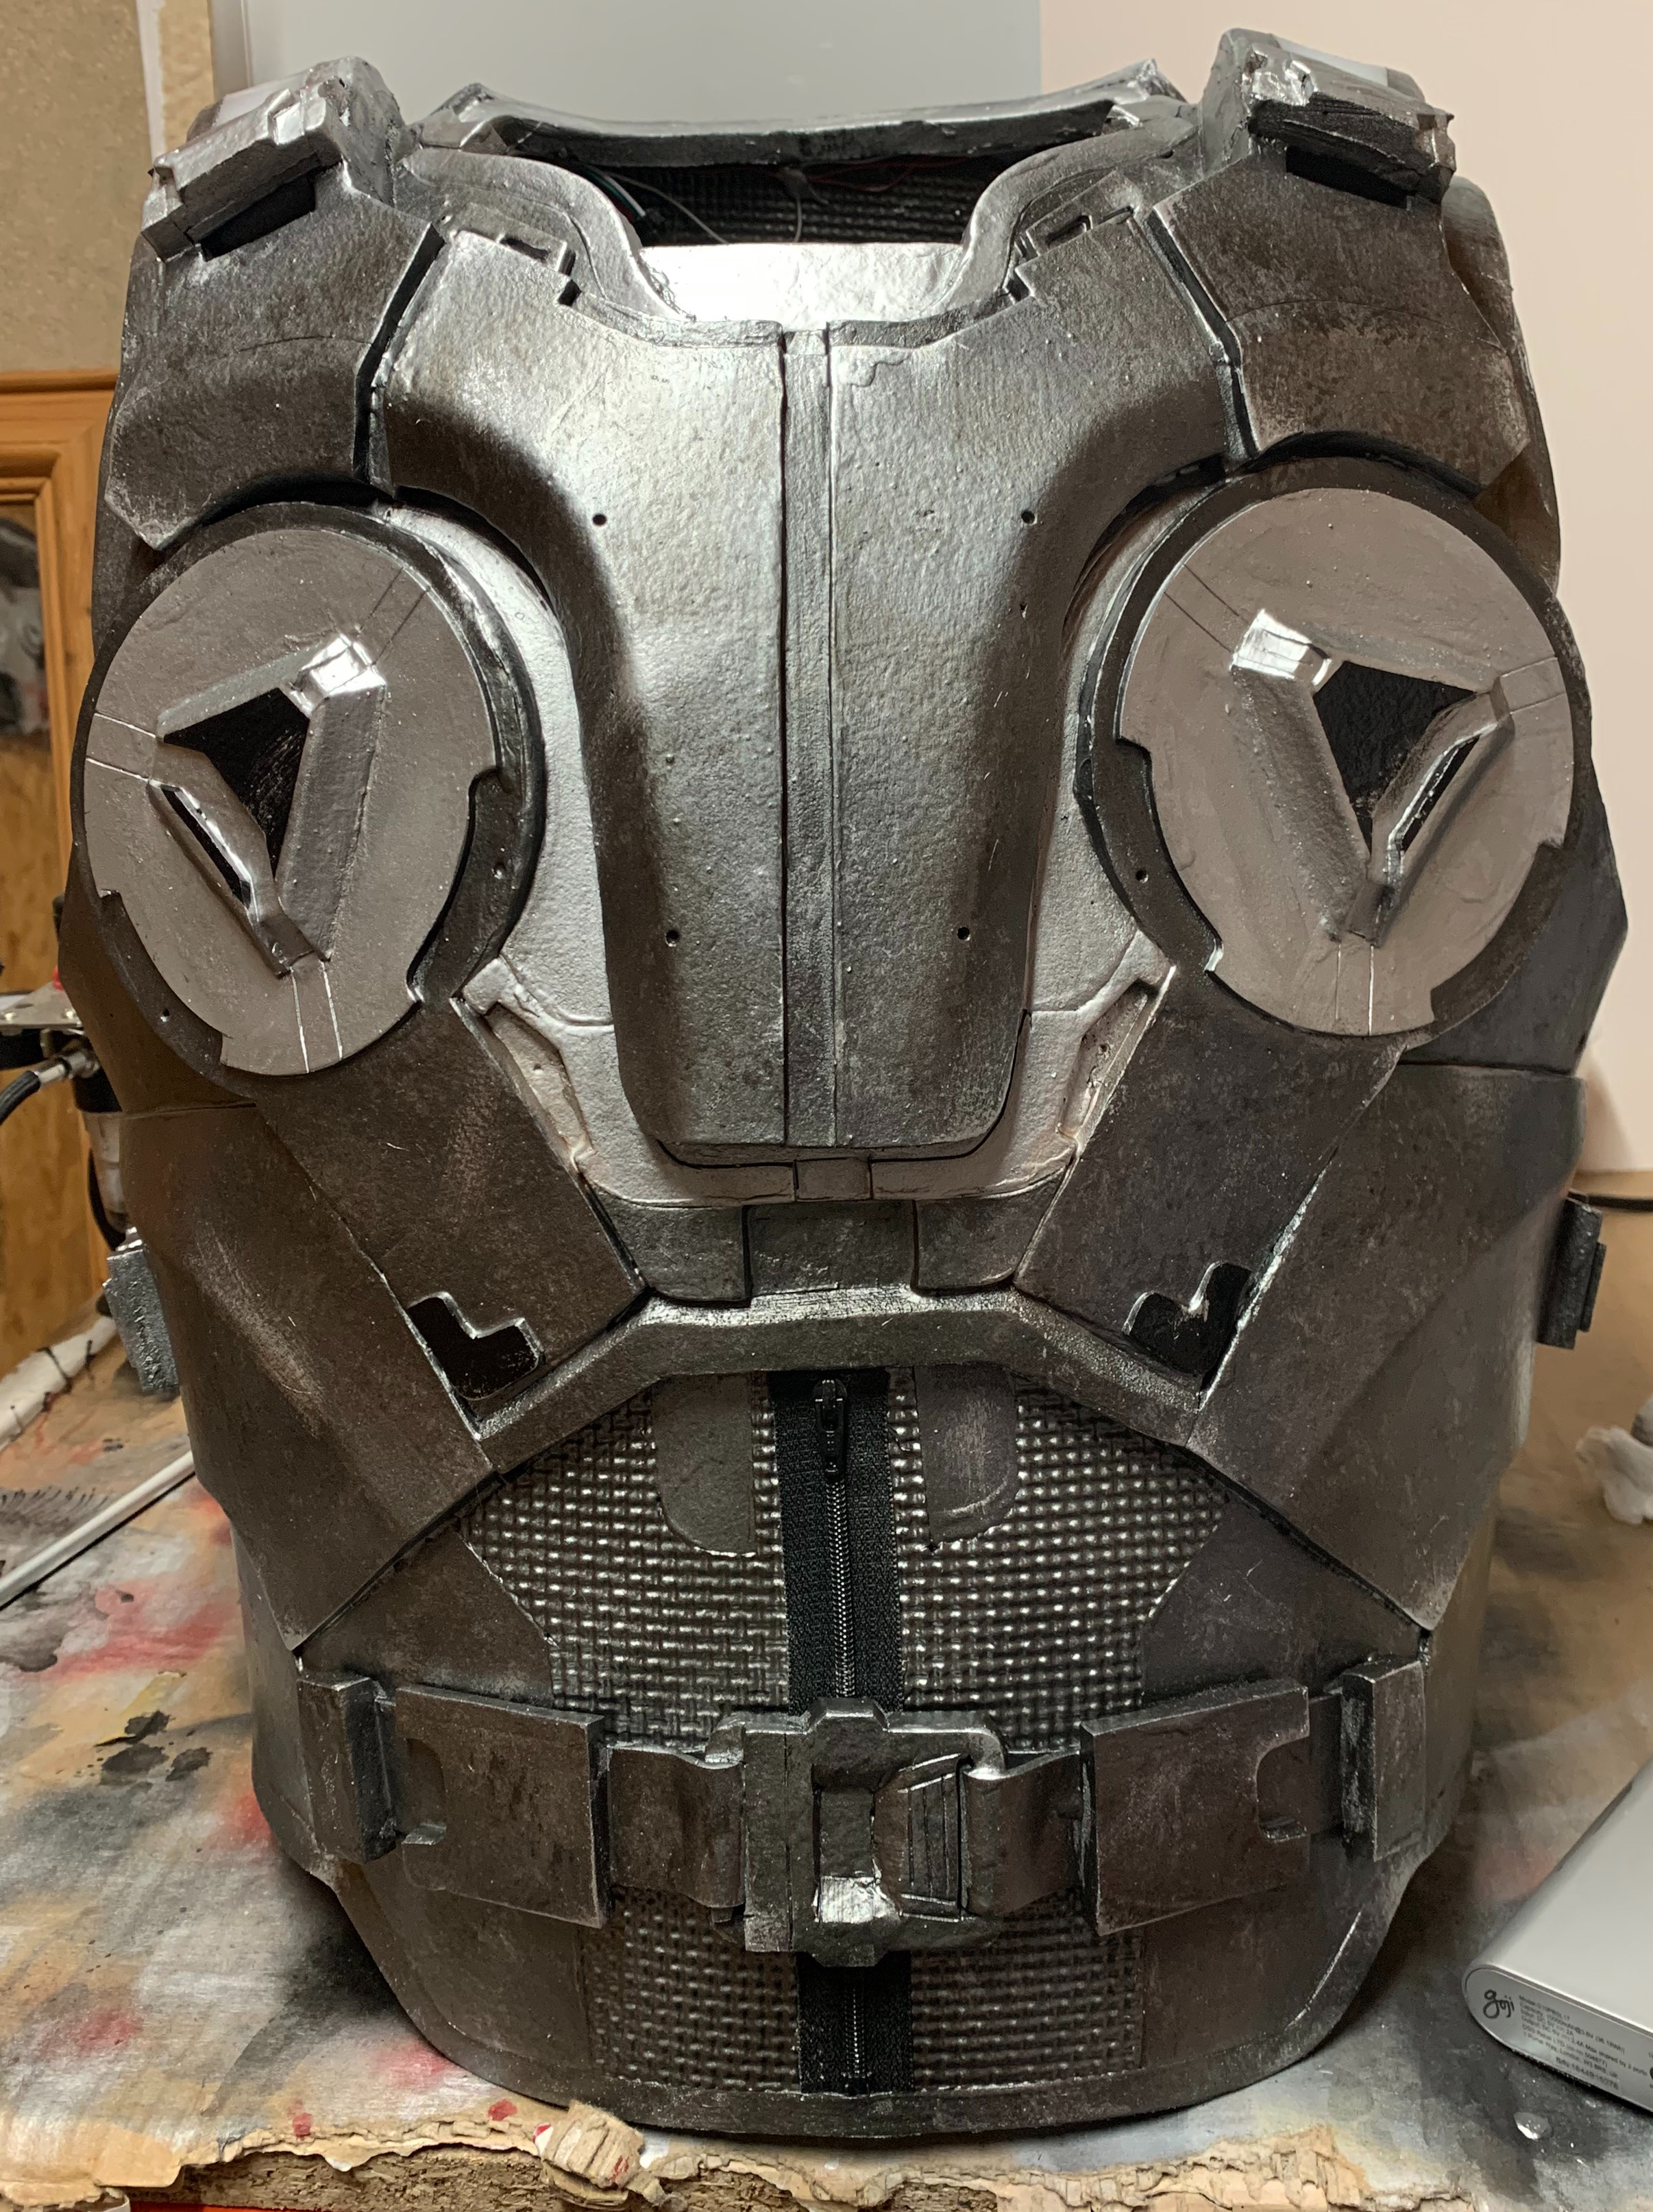
I mixed gun metal and the silver chrome together in a 50/50 ratio, and using an old brush I dabbed the colour lightly over the whole suit. once that was dried I mixed another colour set but this time using more chrome silver making the final colour brighter, and again dabbed it all over the suit, being careful to not get it on the parts that needed to stay silver. The last colour I used was a darkened gun metal, mixing the gun metal and a matte black until I got the desired colour.
Once it was all done and dry I was very happy with the outcome, especially compared to to plain gun metal. you can see the contrast below.
You can see the change is subtle but bring the suit more to life. I also added the dark triangle on the chest seals by masking and using the air brush again.
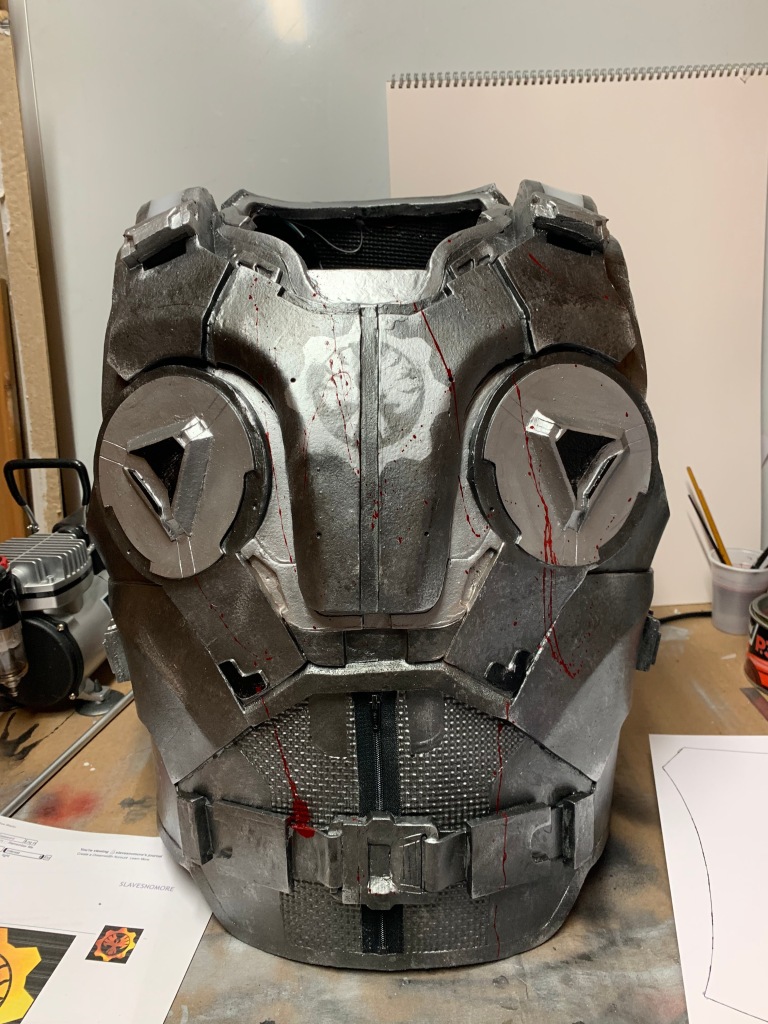
The last few steps included the cog symbol on the front of the chest, painting the straps of the belt black, and spraying the same blood colour I used on the lancer, on the front of the armour.
Once that was done I used the silver chrome again to do some light and subtle weathering and this was finally finished!! a good layer of clear coat to cover and protect the paint job and this 5 week project was ready to take on the swarm!
This has been a project I have wanted to make for the past few years now and I couldn’t be happier with how it turned out. Its a vast improvement over gears armour I have made in the past and had helped improve my skills as a whole. Cant wait to wear this to the next comic-con I attended.